
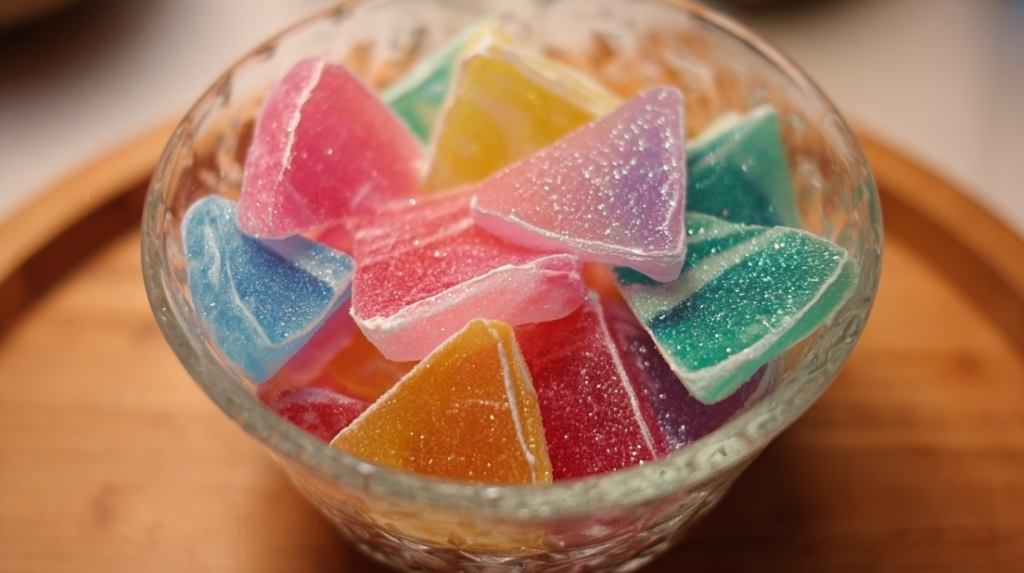
This magical Magic Candy comes together in about 30 minutes and requires no-bake for a quick treat that your family will love! You can switch up the flavoring extracts to suit your taste or use it as a “clean out the pantry” project to get rid of stray baking supplies and odds and ends. It’s the perfect little indulgence for busy weeknights or festive gatherings trust me, your family will be asking for seconds, or even thirds!
The Ingredients You’ll Need
- 2 cups Sugar
- 1 cup Corn Syrup
- 1/2 cup Water
- 1 tsp Flavoring Extract (e.g., Vanilla, Peppermint)
- Food Coloring (Optional)
- Cornstarch for Dusting
How to Make Magic Candy
- Combine Ingredients: In a medium saucepan, combine sugar, corn syrup, and water together over medium heat.
- Heat Until Dissolved: Stir the mixture occasionally until the sugar has completely dissolved, this usually takes about 5 minutes.
- Bring It to a Boil: Increase the heat and bring your candy mixture to a boil. Once it’s bubbling nicely, don’t forget to let it boil for about 5-7 minutes, or until it reaches 300°F on a candy thermometer. This is the hard crack stage, here’s where the magic happens!
- Add Flavoring & Color: Once it hits temperature, remove it immediately from the heat and stir in your flavoring extract and food coloring (if using). The colors will brighten and the smell will be absolutely heavenly!
- Pour & Cool: Carefully pour the mixture onto a greased baking sheet or marble slab. Spread it out slightly to ensure even cooling and let it cool for about 10-15 minutes.
- Cut Into Pieces: Once it’s cool enough to handle but still pliable, use a sharp knife or scissors to cut into bite-sized pieces, be careful though; it will be warm!
- Dust with Cornstarch: Lightly sprinkle your cut candies with a little cornstarch to keep them from sticking together, then enjoy your homemade Magic Candy!
Why I Love This Recipe
This Magic Candy recipe is one of my go-to recipes because it’s so simple and quick to whip up, and the end result is always a hit! It’s the kind of treat that can bring back wonderful memories of childhood. I remember making this with my grandma during the holidays, filling her house with that sweet, sugary smell nothing beats it! And the best part is you can customize it to use whatever flavoring you’ve got on hand. I’m a real sucker for recipe flexibility; it makes cooking feel more fun and creative!
If you loved this Magic Candy recipe, be sure to check out my Cool Whip Candy, my Kentucky Cream Pull Candy, or my Boozy Bourbon Cherries!
Why This Recipe Works
Customizable
The beauty of this Magic Candy recipe is how versatile it is. You can experiment with different flavors and colors, make it your own! Use whatever ingredients you have lying around to throw in some nuts or dried fruits for added texture.
Crowd-Pleaser
Trust me, this candy is sure to please just about anyone! Even picky eaters tend to gobble it up, making it a fantastic choice for parties or just a sweet family treat.
Quick & Easy
You can whip this up in under 30 minutes, making it perfect for those busy weeknights when you’re looking for a little something sweet but just can’t spend hours in the kitchen.
Budget-Friendly
Using common pantry staples means you can whip this up without breaking the bank! And you can even make it last longer by storing it properly, just remember to add that cornstarch!
Serving and Storage Tips
How to Serve This Magic Candy
You can serve this Magic Candy as is, or use it as a delightful topping for ice cream, cupcakes, or even to decorate a cake. It adds a nice crunch and sweetness that’s sure to impress!
Storage
Once your candy has cooled completely, store it in an airtight container at room temperature. Properly stored, it can last for about 2 weeks, that is if you can resist eating it all right away!
Reheating Instructions
If you happen to get leftovers that harden too much, place them back into a low-heat oven (about 200°F) for a few minutes to soften them up again, just keep an eye on them so they don’t get too melty.
Freezer Friendly?
I don’t really recommend freezing Magic Candy, as the texture might change. It’s best enjoyed fresh, but if you must, just ensure it’s in an airtight container to protect it in the freezer!
Now that you have the ins and outs of this incredible Magic Candy, I hope you go whip up a batch! It’s truly an experience you won’t want to miss, and I know you’ll be delighted. Remember, great food creates amazing memories, so get cooking and enjoy every bite!
Happy candy-making, my friends! Follow us on Pinterest for daily baking inspiration that brings warmth to your table!
Magic Candy
Ingredients
Method
- In a medium saucepan, combine sugar, corn syrup, and water together over medium heat.
- Stir the mixture occasionally until the sugar has completely dissolved—this usually takes about 5 minutes.
- Increase the heat and bring your candy mixture to a boil. Let it boil for about 5-7 minutes, or until it reaches 300°F on a candy thermometer.
- Once it hits temperature, remove it from the heat and stir in your flavoring extract and food coloring (if using).
- Carefully pour the mixture onto a greased baking sheet or marble slab. Spread it out slightly and let it cool for about 10-15 minutes.
- Once it’s cool enough to handle but still pliable, cut it into bite-sized pieces using a sharp knife or scissors.
- Lightly sprinkle your cut candies with a little cornstarch to keep them from sticking together.