
This Homemade Bomb Pop comes together in about 15 minutes and is a no-bake treat that your family will love! S Just think about those hot summer days when a cold treat is the best thing ever, this will definitely hit the spot!
Ingredients
Making your Homemade Bomb Pops is a breeze, thanks to a few simple ingredients. You’ll need:
- 2 cups Cherry-Flavored Drink Use your favorite cherry soda or cherry sports drink.
- 2 cups Lemon-Lime Flavored Drink Adds a refreshing touch.
- 2 cups Blue Raspberry Flavored Drink Captures the iconic Bomb Pop look and flavor.
- 6 pieces Ice Pop Bags These will hold your delicious creations.
The best part is, if you can’t find any of these flavors, feel free to get creative! You could use other flavors like grape or orange to make it totally personal.
Let’s Get Cooking!
Now, let’s dive into how to whip up these colorful pops. Trust me, the kids will love them, and you might even feel a touch of nostalgia eating them yourself!
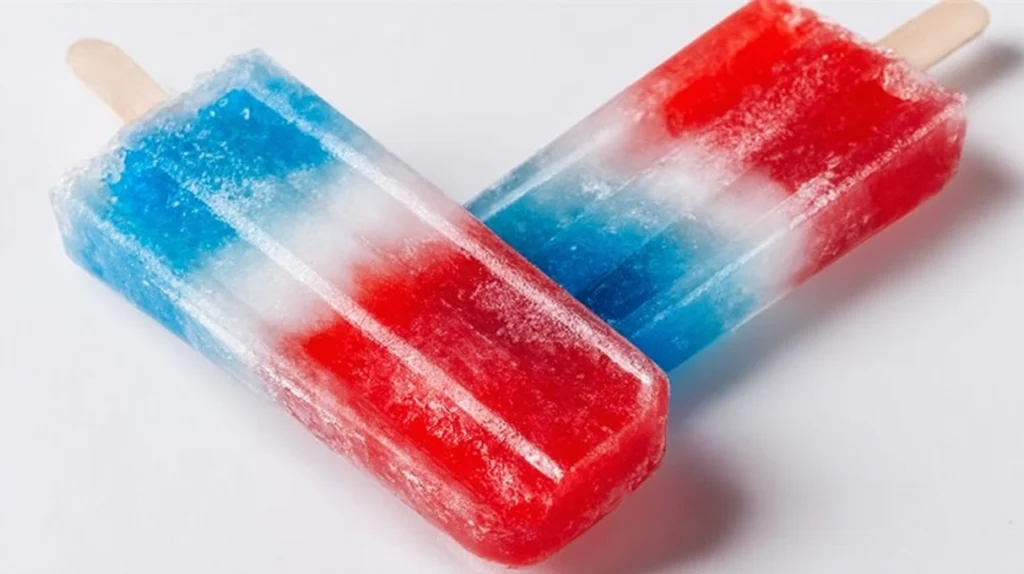
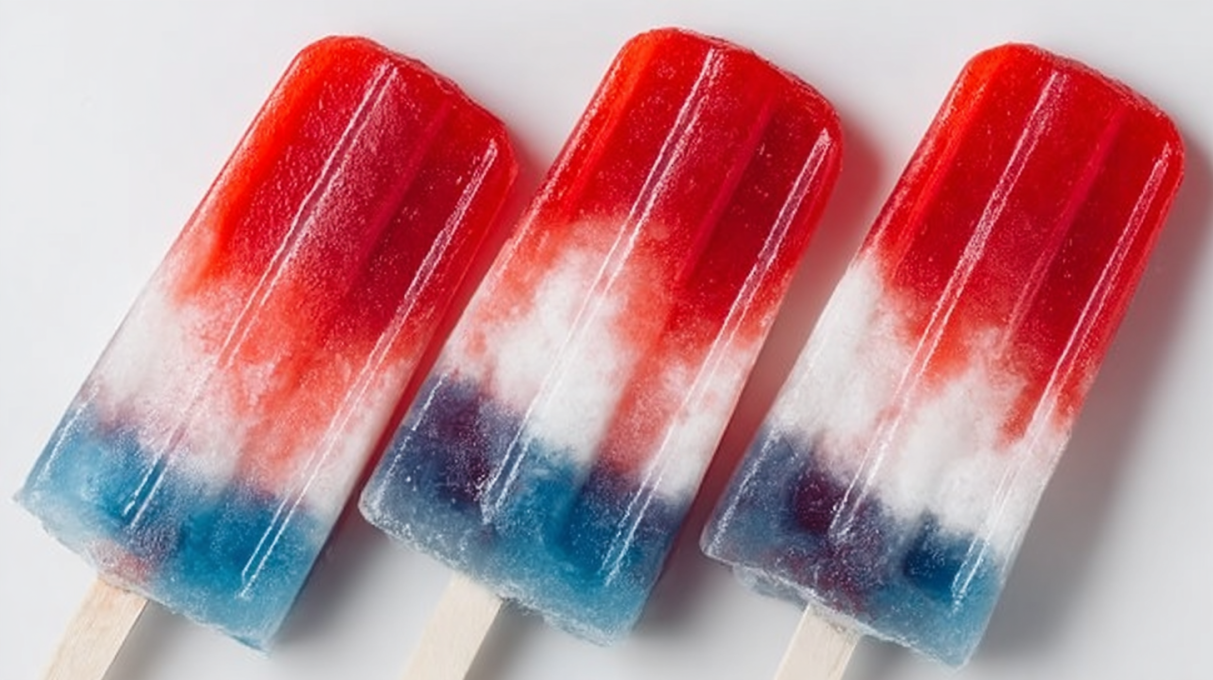
Fill Ice Pop Bags: Start by pouring your cherry-flavored drink into your ice pop bags. You’ll want to fill them about a third of the way. Next, carefully pour in the lemon-lime drink to create a second layer. And finally, top it with the blue raspberry drink. Your layers should be about the same height for the best visual effect, eye-catching is key!
Freeze Until Solid: Once your molds are filled, seal them up tightly and place them in the freezer. Let them freeze for at least 4-6 hours, or until solid. Patience is key, but I promise it’ll be worth the wait!
Serve and Enjoy: When they’re fully frozen, remove them from the freezer. To help slide the pops right out of the bags, run a little warm water over the outside for a few seconds. Enjoy these pops as a delightful treat on a hot summer day, or serve them at a Fourth of July party, they’re always a hit!
If you loved this fun recipe, be sure to check out my Homemade Pop Rocks !
Why This Recipe Works
Quick & Easy
This treat comes together in under 15 minutes and requires no baking! Seriously, minimal effort leads to maximum enjoyment, making it a perfect go-to recipe.
Customizable
The best part of these pops is how customizable they are! You can switch out the flavors based on your family’s favorites, use whatever you have left in the fridge, or even experiment with mix-ins, like sprinkles or fruit puree, for a fun twist.
Kid-Friendly Fun
Kids love these! Not only do they enjoy eating them, but they also adore helping to make them. It’s a fun way to get the little ones involved in the kitchen, plus it sparks their creativity with flavors.
Refreshing
On hot days, there’s nothing better than a refreshing icy treat. The bright colors and delicious fruity flavors sure do make these homemade bomb pops a visual and tasty delight!
Serving and Storage
Serving Suggestions
These bomb pops are perfect for enjoying on their own, but you can also serve them alongside a nice picnic or barbecue. Pair them with fresh fruit or a light salad for a fun and colorful dessert table.
How to Store
Once you’ve made your homemade bomb pops, they can be stored in the freezer where they will last for about 2-3 months if tightly sealed. If you have extras, just keep them in a freezer bag to prevent freezer burn.
Reheating Instructions
These pops are best enjoyed straight from the freezer, but if you find they’re too firmly frozen, just let them sit at room temperature for a couple of minutes before serving.
Freezer Friendly
Yes! Not only are they freezer-friendly, but they’re also incredibly easy to prepare in batches for family gatherings or summer parties. Just make sure they are well-sealed to maintain quality.
So there you have it, the perfect homemade bomb pop recipe just in time for warmer weather! Enjoy getting creative with flavors, building fun layers, and most importantly, bringing smiles to your family’s faces.
Happy cooking! And follow us on Pinterest for daily meal inspiration!
Homemade Bomb Pop
Ingredients
Method
- Pour cherry-flavored drink into ice pop bags, filling them about a third of the way.
- Carefully pour in lemon-lime drink to create a second layer.
- Top with the blue raspberry drink, ensuring the layers are of equal height.
- Seal the ice pop bags tightly and place them in the freezer.
- Let them freeze for at least 4-6 hours, or until solid.
- Remove pops from the freezer and run warm water over the outside for a few seconds to help slide them out.
- Serve and enjoy as a delightful treat on a hot summer day or at a Fourth of July party.