
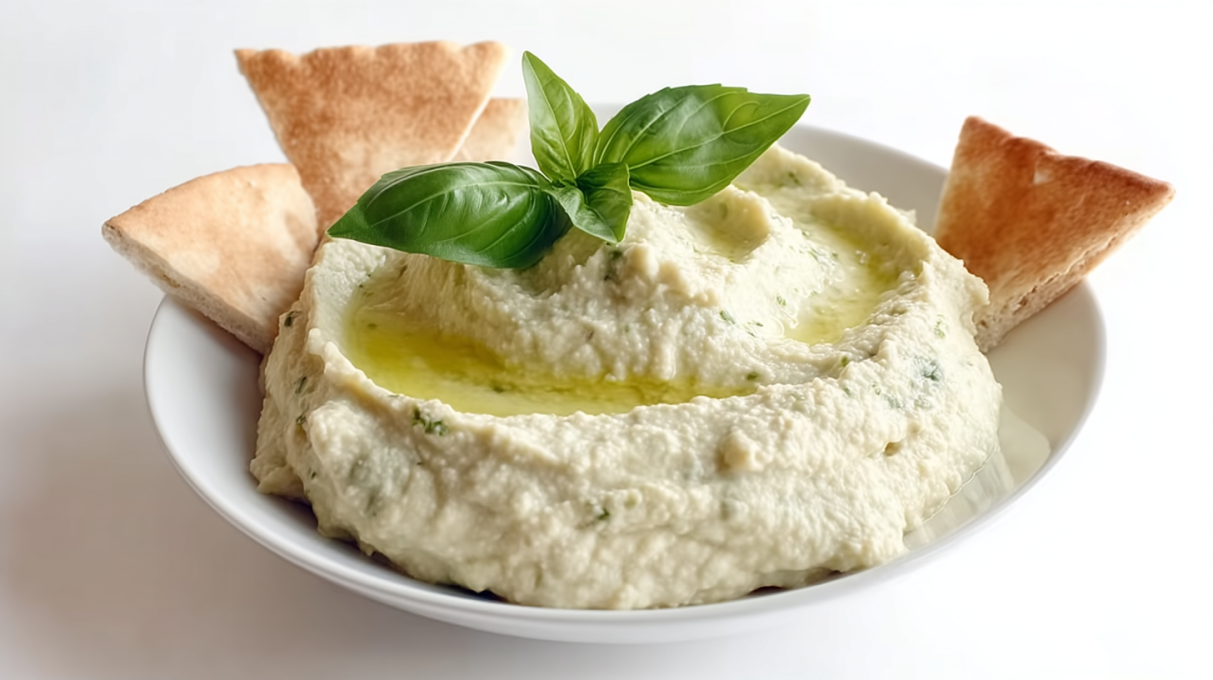
This Garlic White Bean Basil Hummus with Homemade Toasted Pita Chips comes together in about 30 minutes and is a no-bake dish for a quick and easy snack that your family will love! Seriously, this recipe is all about flexibility, which is perfect for those busy weeknights when you need something delicious and satisfying.
Ingredient Breakdown
For the Hummus
- 1 can Canned cannellini beans Packed with protein and fiber.
- 2-3 cloves Garlic Adjust according to taste.
- 2 tablespoons Fresh lemon juice Fresh is best, bottled is okay if out.
- to taste Salt Pinches elevate flavors.
- to taste Freshly ground black pepper Add as much or as little as desired.
- 1/4 cup Fresh basil Substitute with other herbs if necessary.
- 1 tablespoon Olive oil Extra virgin olive oil recommended.
- to adjust splash Water Use to adjust hummus consistency.
For the Pita Chips
- 2 pieces Pita bread Can use whole wheat or flavored varieties.
- 1 tablespoon Olive oil To drizzle over pita.
- to taste Salt For seasoning the chips.
How to Make Garlic White Bean Basil Hummus and Toasted Pita Chips
Step 1: Prepare the Pita Chips
Preheat the oven to 400°F (200°C). Cut pita bread into triangles and arrange them on a baking sheet. Drizzle with olive oil and sprinkle a couple pinches of salt over them. Bake for about 5-7 minutes, or until they’re crispy and golden brown. The smell? Divine!
Step 2: Blend the Hummus
In a food processor, combine the canned cannellini beans, garlic, fresh lemon juice, salt, freshly ground black pepper, fresh basil, olive oil, and a splash of water. Blend until everything is smooth! Don’t forget to scrape down the sides and add more water if it’s too thick for your liking. You want it nice and creamy, think dip, not paste.
Step 3: Serve
Once the hummus is blended to perfection, serve it with the toasted pita chips. Seriously, the combination is heavenly! You can even garnish the hummus with a swirl of olive oil or some extra basil leaves for that restaurant-worthy feel.

If you loved this Garlic White Bean Basil Hummus, be sure to check out my Carrot Hummus with Zaatar Pita Chips!
Why This Recipe Works
Quick & Easy
Comes together in about 30 minutes! Seriously, gathering your ingredients, blending them, and popping those pita chips in the oven is a breeze.
Customizable
The best part is, you can easily switch up the flavors! Add different herbs, spices, or even some roasted red peppers for a unique twist. Whatever you have lying around can absolutely work in this recipe!
Budget-Friendly
With affordable and everyday ingredients, this recipe won’t break the bank. You can enjoy delicious snacks without overspending!
Make-Ahead Friendly
This hummus stores beautifully in an airtight container in the fridge for up to a week, making it ideal for meal prep. Just whip up a batch at the start of the week and it’ll be ready whenever you need a snack or a tasty side.
Serving & Storage Tips
Serving Suggestions
This creamy hummus is not only wonderful with toast pita chips but also pairs well with fresh veggies, crackers, or over a salad to add a punch of flavor. It’s versatile!
Storage
Your leftovers will stay fresh in the refrigerator for up to a week. Use an airtight container to keep it optimal, trust me, you don’t want it drying out or becoming stale in any way.
Reheating Instructions
There’s really no need to reheat hummus, but if it gets a bit too thick in the fridge, add a splash of water before serving to bring back that creamy texture.
Freezer Friendly
Yes, this recipe is freezer-friendly! Just freeze the hummus in an airtight container, and it’ll keep its deliciousness for about a month. When you’re ready to enjoy, just thaw it in the fridge overnight.
In the end, this Garlic White Bean Basil Hummus with Homemade Toasted Pita Chips embodies everything I love about cooking, delicious, easy, and endlessly adaptable! It’s the kind of recipe that will surely find its way into your permanent rotation. Enjoy creating and debugging it in your kitchen!
Follow us on Pinterest for daily meal inspiration!
Garlic White Bean Basil Hummus with Homemade Toasted Pita Chips
Ingredients
Method
- Preheat the oven to 400°F (200°C). Cut pita bread into triangles and arrange them on a baking sheet.
- Drizzle with olive oil and sprinkle with salt. Bake for about 5-7 minutes or until crispy and golden brown.
- In a food processor, combine the canned cannellini beans, garlic, fresh lemon juice, salt, black pepper, fresh basil, olive oil, and a splash of water. Blend until smooth.
- Scrape down the sides and add more water if needed for desired consistency.
- Serve the hummus with the toasted pita chips, garnished with a swirl of olive oil or basil, if desired.