
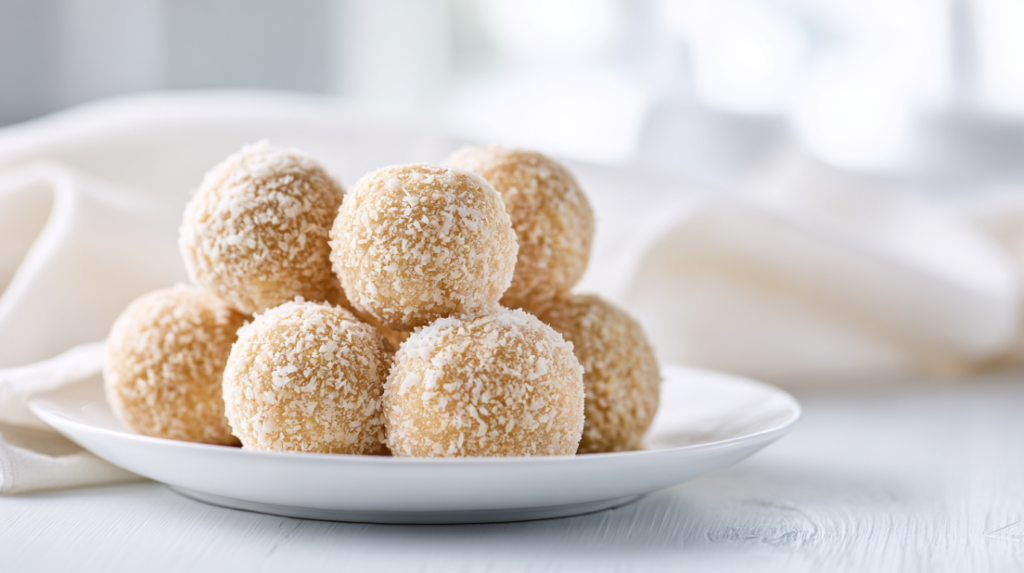
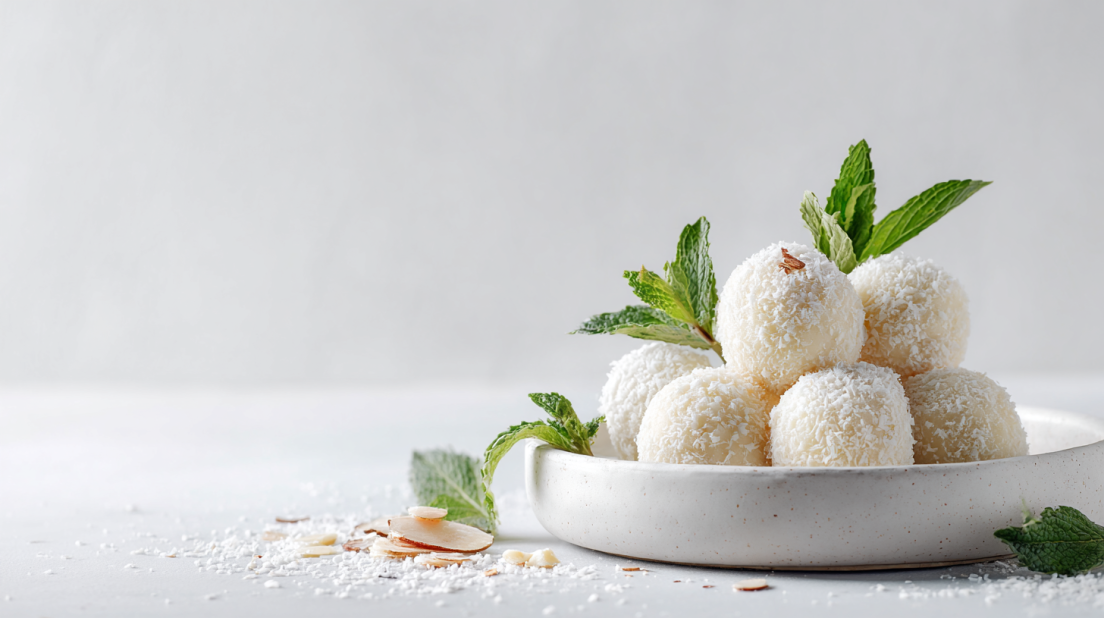
Hey there, snack lovers! If you’re searching for a deliciously satisfying treat that not only satisfies your sweet tooth but also packs a protein punch, look no further! These Cheesecake Protein Balls for Guilt-Free Snacking come together in about 15 minutes yes, you heard that right, and require no-baking at all! Talk about a win-win! These little bites of joy are perfect for those busy weeknight munchies or just a pick-me-up during the day. And the best part? You can easily switch up the ingredients based on what you have at home. Let’s dive right in!
Ingredient Breakdown
- 8 oz Cream Cheese (Softened)
- 1/4 cup Sweetener (Honey, Maple Syrup, or Sugar Substitute)
- 1 tsp Vanilla Extract
- 1 scoop Protein Powder (Whey or Plant-Based)
- 1 cup Oats (or Almond Flour for Gluten-Free)
- 1/2 cup Nuts/Chocolate Chips/Berries (Optional)
Let’s Get Cooking!
1. Mixing the Cream Cheese Mixture
Start by grabbing a medium-sized mixing bowl. Add your softened cream cheese (it should be nice and spreadable) and sweetener. Using a hand mixer (or good ol’ elbow grease with a spatula), mix until creamy and smooth, about 2-3 minutes. The smell is already heavenly!
2. Incorporating the Flavorings
Now, add the vanilla extract and your scoop of protein powder to the mixture. Give it another quick mix until everything is well combined, about 1 minute should do it. Look at that! So creamy and delightful already.
3. Adding Oats (or Almond Flour)
Stir in the oats (or almond flour) next. Use a sturdy spatula, and make sure to fold the mixture gently to preserve that fluffy texture. You want to see little flecks of oats poking through after about 1-2 minutes of mixing.
4. Final Touches!
Now, if you’re adding any extras like chocolate chips, nuts, or berries, this is the time! Gently fold them into the mixture and, oh my goodness, the taste! It’s like a cheesecake party in there.
5. Chilling Time
Cover the bowl with plastic wrap and pop it in the fridge for about 30 minutes. This helps the protein balls firm up so they’re easier to roll. While you wait, why not enjoy a little dance party in the kitchen?
6. Roll Them Up
Once they’ve chilled, take them out and grab a tablespoon (or a cookie scoop) to measure out your protein ball portions. With clean hands, roll them into balls, about the size of a golf ball. The kids can help with this part too! Sprinkle on a bit of crushed nuts or cocoa powder for fun, if you’d like.
7. Serve or Store
You can enjoy them right away, or if you’re like me, you’ll want to make a batch for the week. Place the rolled balls in an airtight container in the fridge where they will keep for up to one week. Enjoy them cold, or let them sit at room temperature for a few minutes for extra soft goodness!
Why I Love This Recipe
This is my go-to recipe for snacking! I’m a real sucker for anything that resembles cheesecake, and these protein balls hit all the right notes. Plus, they make the perfect no-cook treat for when you just don’t feel like turning on the oven, but need a little something sweet. And the best part is, you can use whatever you’ve got on hand. It’s like creating a little edible treasure that suits your mood and cravings!
If you loved this recipe, be sure to check out my Samoa Cookie Protein Balls, my Cinnamon Roll Protein Balls, or my Lemon Poppyseed Protein Balls!
Why This Recipe Works
Quick & Easy
These beauties come together in under 15 minutes! Seriously, they only need a quick mix and chill before they’re ready to munch on. Perfect for those busy weeknights!
Customizable
The secret to a delicious protein ball is total flexibility! You can easily switch out the sweeteners, add-ins, or even binders according to your family’s preferences. Use what you have and what you love!
Make-Ahead Friendly
These little bites are ready when you are. Prepare a batch to have quick snacks throughout the week, and you’ll be all set! Just grab and go!
Serving and Storage Tips
What to Serve with These
These protein balls are delightful on their own, but you can pair them with a piece of fresh fruit or a scoop of yogurt for a well-rounded snack! Try serving them for an afternoon snack or even dessert!
Storing Your Protein Balls
These protein balls will keep for about one week in the refrigerator, stored in an airtight container. If you want to store them long-term, pop them in the freezer! They freeze beautifully and can last up to 3 months. Just thaw them in the refrigerator or at room temperature when you’re ready to enjoy.
Reheating Instructions
No need for a microwave here; these tasty bites are great chilled or at room temperature. Just let them sit out for a few minutes if you prefer them a little softer.
Now get ready! Once you try these Delicious Cheesecake Protein Balls, they’ll become your new favorite guilt-free snack. You’ll be munching away, feeling good that you’re treating yourself to something filled with protein and flavor. I can’t wait to hear what variations you come up with!
Happy snacking, friends! Follow us on Pinterest for daily meal inspiration!
Delicious Cheesecake Protein Balls
Ingredients
Method
- Start by grabbing a medium-sized mixing bowl. Add your softened cream cheese and sweetener, mixing until creamy and smooth, about 2-3 minutes.
- Add the vanilla extract and protein powder to the mixture, then mix well until combined, about 1 minute.
- Stir in the oats (or almond flour) gently with a sturdy spatula, mixing until just combined.
- Fold in any additional ingredients like chocolate chips, nuts, or berries.
- Cover the bowl with plastic wrap and place it in the fridge for about 30 minutes to firm up.
- Once chilled, take them out and roll the mixture into balls about the size of a golf ball.
- Enjoy immediately or store them in an airtight container in the fridge for up to one week.