
Hey there, friend! If you’ve been searching for the perfect accompaniment to elevate your weeknight dinners, look no further than this Roasted Garlic Aioli! It comes together in about 40 minutes with minimal fuss (seriously, just a sheet pan and a bowl!) and packs an incredible punch of flavor that your family will love! This creamy dip, spread, or drizzle is a crowd-pleaser that jazzes up everything from sandwiches to roasted veggies. Plus, you can switch up the ingredients to suit your taste or use whatever odds and ends you have in the fridge, how great is that?
Ingredient Breakdown
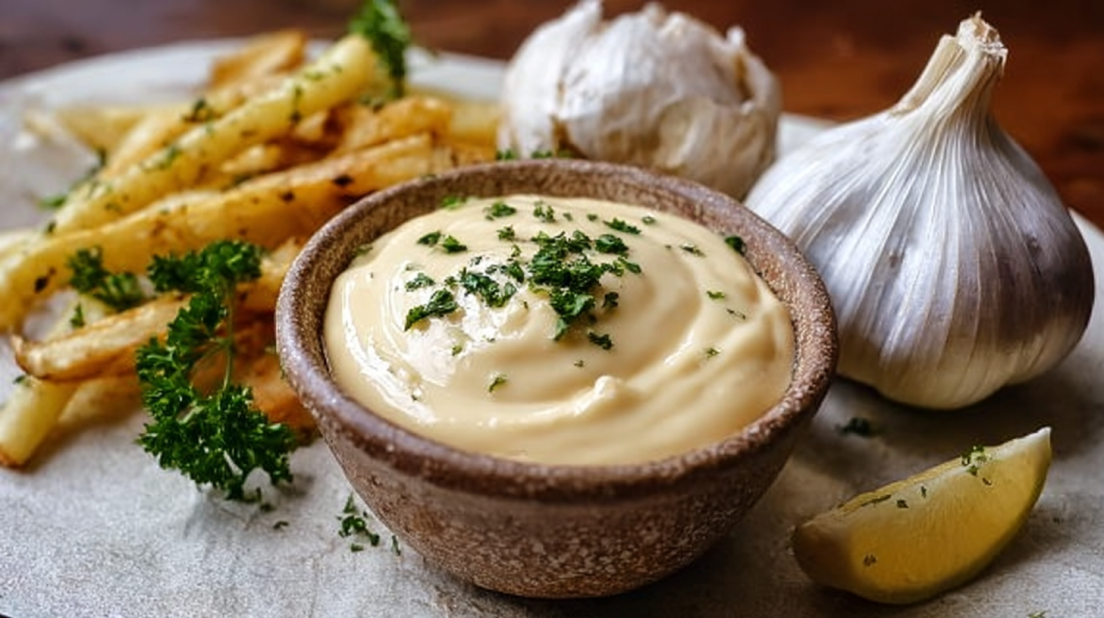
- 1 Head of Garlic
- 1 Cup Mayonnaise
- 2 Tablespoons Lemon Juice
- 1 Teaspoon Dijon Mustard
- Salt and Pepper to Taste
- Olive Oil (Optional)
Let’s Get Cooking!
Now that we’ve gathered our ingredients, it’s time to dive into the making of this delicious aioli. Follow these step-by-step instructions, trust me, you’ll be slathering this on everything by the end!
How to Make Roasted Garlic Aioli
Preheat Your Oven: Start by preheating your oven to 400°F (200°C).
Prepare the Garlic: Grab your head of garlic and cut off the top to expose the cloves, oh, that smell! Drizzle it with a bit of olive oil and wrap it up in foil, like a cozy little garlic burrito.
Roast the Garlic: Place your wrapped garlic in the oven and roast it for 30-35 minutes until it’s soft and fragrant. You’ll know it’s ready when the aroma fills your kitchen! Give it a few minutes to cool, or you’ll burn your fingers (trust me on this).
Squeeze the Garlic: Once it’s cool enough to handle, squeeze the garlic cloves out into a mixing bowl. They should slide right out, no fuss!
Mix It All Together: Add the mayonnaise, lemon juice, Dijon mustard, and a couple of pinches of salt and pepper to the bowl. Now, get your whisk or fork out and mix until smooth and creamy, this is where the magic happens.
Taste Test: Take a little taste, and adjust the seasoning to your liking. Feel free to add more lemon juice for tartness or a bit more salt if it needs it!
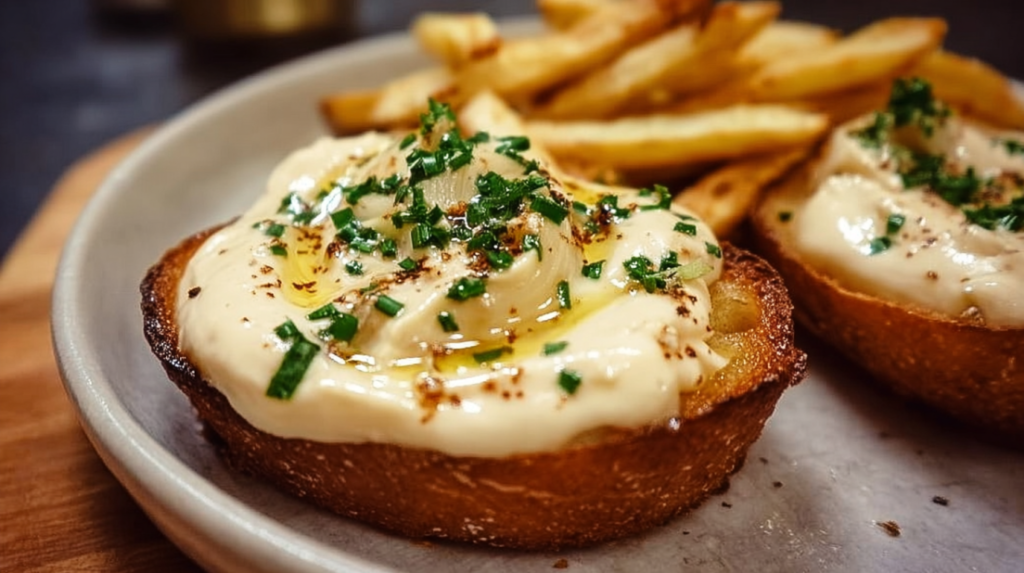
Serve & Enjoy: That’s it! Serve as a dip, drizzle over veggies or sandwiches, or slather it on your favorite protein. It’s versatile and delicious!
Why I Adore This Roasted Garlic Aioli
This Roasted Garlic Aioli is my go-to recipe when I want to take a simple meal to the next level. Seriously, it’s comforts food at its finest and oh-so-simple! I’m a real sucker for how versatile it is, you can whip it up for an elegant dinner or just use it as a way to clean out the fridge. Last Tuesday, I made it to use up some leftover veggies, and it turned out potentially better than the original dish! The best part is how creamy and flavorful it is, turning even plain old carrots into a delightful snack.
If you loved this Roasted Garlic Aioli, be sure to check out my Cowboy Butter Sauce, my Peri Peri Sauce, or my 3-Ingredient Tonkatsu (Katsu) Sauce!
Why This Roasted Garlic Aioli Works
Quick & Easy
This aioli comes together in under 40 minutes, making it perfect for busy weeknights. You’ll have a delicious and creamy condiment with minimal effort!
Versatile & Customizable
The recipe allows for tons of flexibility! Don’t have garlic? Try roasted red peppers or sun-dried tomatoes. Want to kick it up a notch? Add some chili flakes for a spicy twist. The secret to a delicious aioli is making it your own!
Comfort Food
Garlic and mayonnaise together create a creamy, dreamy dip or spread that can make any dish feel special. It’s loaded with tons of flavor, making it the ultimate comfort food.
Meal Prepping Friendly
This aioli is AMAZING for meal prep. Make a big batch at the beginning of the week. It keeps well in the fridge and can enhance every meal you whip up! I’ll often use it as a secret weapon on busy days when I need to jazz up leftovers.
Perfect for Entertaining
If you’re hosting friends or family, this roasted garlic aioli is always a crowd-pleaser. Serve it with chips, crackers, or as a flavorful spread for sandwiches. It’ll impress your guests without the stress!
Serving & Storage Tips
How to Serve This Roasted Garlic Aioli
This aioli is just perfect for serving with a variety of foods. Here are some ideas:
- Spread on sandwiches or wraps for an extra layer of flavor
- Serve it with crispy roasted vegetables like carrots, potatoes, or zucchini
- Use as a dip for fresh veggies or pita chips
- Drizzle over grilled meats or seafood to enhance flavors
Storage
Store any leftover aioli in an airtight container in the refrigerator. It’ll keep for about 1 week (but believe me, it probably won’t last that long!).
Reheating Instructions
You don’t really need to reheat aioli, as it’s best served cold or at room temp. If you happen to have leftover aioli (unlikely, but it could happen), just let it sit out for a bit before enjoying it!
Freezer Friendly
This aioli is not recommended for freezing, as mayonnaise-based sauces can change texture and become grainy upon thawing. It’s best enjoyed fresh!
There you have it! A delightful Roasted Garlic Aioli that anyone can whip up in a pinch. It’s easy, quick, and absolutely loaded with flavor, making it the perfect enhancement for your weeknight meals or any gathering. Happy cooking, my friends, and enjoy every delicious bite! Follow us on Pinterest for daily meal inspiration!
Roasted Garlic Aioli
Ingredients
Method
- Preheat your oven to 400°F (200°C).
- Cut off the top of the head of garlic to expose the cloves, drizzle with olive oil, and wrap in foil.
- Roast the wrapped garlic in the oven for 30-35 minutes until soft and fragrant.
- Let it cool for a few minutes before handling.
- Squeeze the roasted garlic cloves into a mixing bowl.
- Add mayonnaise, lemon juice, Dijon mustard, and season with salt and pepper.
- Mix until smooth and creamy.
- Taste and adjust seasoning as desired.
- Serve as a dip, drizzle, or spread over various dishes.