
So, here’s the scoop! This Homemade Pop Rocks comes together in just about 30 minutes and requires minimal cleanup for a fun kitchen project that your family will love! Switch up the flavors to suit your taste, maybe a tangy lemon or a classic cherry! It’s a delightful way to bring a little sweetness to any day. Plus, it’s fantastic for those moments when you wanna clean out your pantry; you know, just throw in whatever flavors you have lying around!
Ingredients Breakdown
Let’s dive into what you’ll need to make these magical, crackling candies.
- 1 cup Granulated Sugar
- 1/2 cup Corn Syrup
- 1/4 cup Water
- 1/2 teaspoon Baking Soda
- 1/2 teaspoon Flavored Extract
- Food Coloring (Optional)
- Powdered Sugar (for dusting)
Let’s Get Cooking!
Now that we have everything, let’s dive right into the fun part: making the Pop Rocks!
How to Make Homemade Pop Rocks
In a saucepan, combine the granulated sugar, corn syrup, and water : Mix it all together until it’s smooth. It should look like sweet syrup with no lumps, yum already!
Bring the mixture to a boil over medium heat, stirring constantly : You’ll want to keep an eye on it trust me; I once burned a batch because I was scrolling through social media. It’s tempting but resist! You want to bring it to that sweet bubbling point.
Once it reaches 300°F (hard crack stage), remove from heat and quickly stir in the baking soda and flavored extract : This stage is crucial for that hard candy consistency. You’ll notice the whole thing bubble up, don’t worry! That’s just the magic of the baking soda reacting. It smells incredible too!
If using, add food coloring and mix well : Stir quickly; the candy is cooling fast! You should see a vibrant color, and the aroma will be intoxicating.
Pour the mixture onto a greased baking sheet and allow it to cool completely : I like to spread it out kinda thin, about 1/4 inch. It should look gorgeous and shiny as it sets!
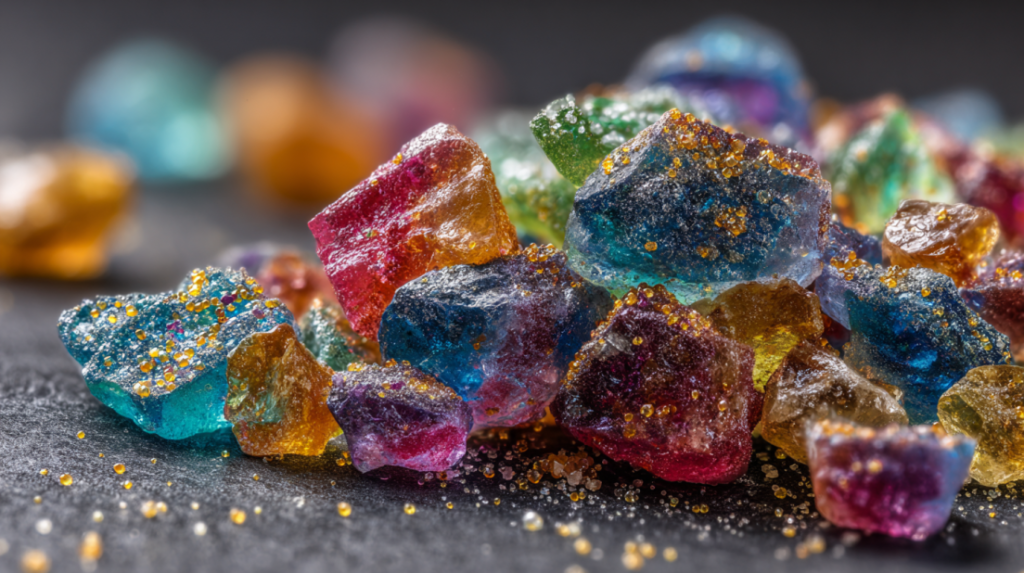
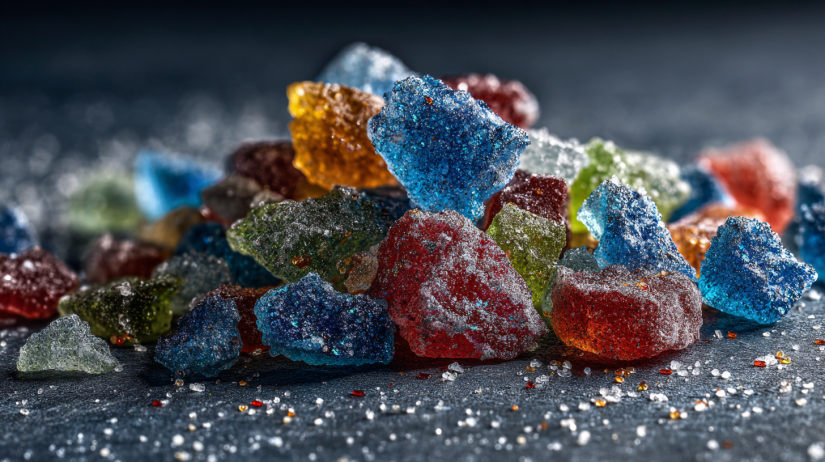
Once hardened, break it into small pieces and dust with powdered sugar to prevent sticking : This part is so satisfying, get your hands in there! It’s like breaking a giant candy rock into delightful little shards.
Enjoy your homemade pop rocks! : Grab a handful and pop them in your mouth. Just keep an eye on the kids, those reactions are priceless!
My Connection with Homemade Pop Rocks
Honestly, this is my go-to recipe when I’m looking for a fun activity to do with my kiddos. It never fails to bring smiles and laughter, as they watch it: “Pop! Pop! Fizz!” There’s something about homemade treats that just hit differently, right? I’m a real sucker for making memories in the kitchen, and these little crackly gems are comfort food at its finest. Homemade Pop Rocks feel like a celebration; it’s a sweet (and slightly explosive) way to show love to my family. And the best part is, you can experiment like crazy with flavors!
If you loved this recipe, be sure to check out my Galaxy Candy Grapes, my Swedish Candy, or my M&M Cookie Bars that you can whip up for a snack!
Why This Recipe Works
Customizable
One of the best parts about these Homemade Pop Rocks is that they are super customizable. You can swap out flavors and colors based on what’s in your pantry or your cravings for that day! So, feel free to experiment a little. Don’t forget the tried-and-true classics though!
Quick & Easy
This recipe comes together in under 30 minutes and requires only a few ingredients. Perfect for an afternoon project or a last-minute treat. Seriously, if you’re in a pinch, this is a fantastic go-to recipe!
Family Fun
Making candy brings everyone together! It’s always such a riot to watch the kids get excited about the fizz and pop when they taste them. You’ll create fantastic memories while engaging everyone in the process!
Great for Gifting
Pack them in cute little bags tied with ribbons for birthdays or holidays. Everybody loves getting a homemade treat, and these are just as fun to watch as they are to eat!
Serving & Storage Tips
Serving Suggestions
Pop Rocks are great as a standalone treat, but you could also add them to desserts like vanilla ice cream or cupcakes for that extra crunch and surprise. Just picture a scoop of ice cream with crackly Pop Rocks on top. Amazing, right?
Storage
Store your Pop Rocks in an airtight container (very important!) and they’ll last for about a week. If you live in a humid environment, keep in mind that they may lose their “pop” potency over time.
Reheating Instructions
There’s really no need to reheat them—these are best eaten fresh! But if they end up in a clump after storage, just break them apart with your hands (they melt really quickly).
Freezer Friendly?
Actually, no! The joy of these fun candies is that unique popping effect, which can be lost when frozen. So, enjoy them fresh!
Food should elicit memories, laughter, and that warm feeling of home, this recipe for Homemade Pop Rocks is no exception! With a little creativity and a dash of enthusiasm, you can take a simple candy and make it extraordinary! So, gather your family, let’s get popping, and enjoy this sweet creation! You’ll find that once you start, you can’t stop.
Happy cooking, friends! Follow us on Pinterest for daily baking inspiration that brings warmth to your table!
Homemade Pop Rocks
Ingredients
Method
- In a saucepan, combine the granulated sugar, corn syrup, and water. Mix until it’s smooth.
- Bring the mixture to a boil over medium heat, stirring constantly.
- Once it reaches 300°F (hard crack stage), remove from heat and quickly stir in the baking soda and flavored extract.
- If using, add food coloring and mix well.
- Pour the mixture onto a greased baking sheet and allow it to cool completely. Spread it out to about 1/4 inch thickness.
- Once hardened, break it into small pieces and dust with powdered sugar to prevent sticking.
- Enjoy your homemade Pop Rocks! They can be added to desserts like ice cream or enjoyed standalone.