

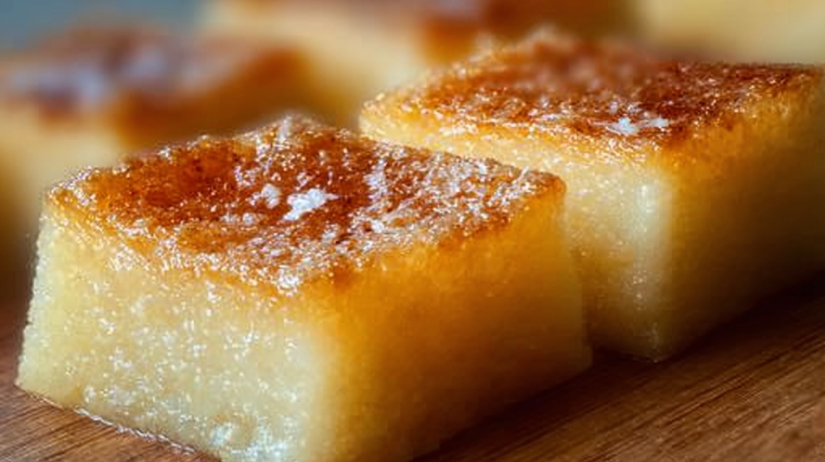
This Hawaiian Butter Mochi comes together in about 30 minutes with just one bowl and a whisk for a easy dessert that your family will love! Switch up the ingredients or add in your favorite flavors to suit your taste, or use it as a “clean out the fridge” treat to use up any odds and ends you have lying around. Trust me, it’s a game changer!
The Delicious Ingredients Breakdown
- 1 cup Sweet Rice Flour
- 1 cup Coconut Milk
- 1/2 cup Salted Butter
- 1 cup Granulated Sugar
- 3 Large Eggs
- 1 tsp Vanilla Extract
- 1 tbsp Baking Powder
- 1 cup Shredded Coconut (Optional)
Let’s Get Cooking!
Step-by-Step Instructions
Preheat Your Oven : Start by preheating your oven to 350°F (175°C). This allows for an even bake.
Mix the Wet Ingredients : In a large mixing bowl, whisk together your melted butter, sugar, and coconut milk until well combined. It should be smooth and creamy, smell that sweetness?
Add Eggs and Vanilla : Crack in your eggs one at a time, whisking after each addition. Add in the vanilla extract. Just envision that beautiful creamy mixture; it’s calling your name!
Combine the Dry Ingredients : In a separate bowl, sift together your sweet rice flour, baking powder, and a pinch of salt. This step is super important to avoid lumps in your batter!
Mix It All Together : Gradually add the dry mixture to your wet ingredients, stirring until just combined. Don’t overmix, we want a tender texture, not a tough one. If you’re adding shredded coconut, now’s the time to fold it in gently.
Pour Into a Prepared Baking Pan : Grease a square 9×9-inch (or 8×8-inch) baking pan with non-stick spray or butter. Pour the batter into the pan and smooth it out evenly with a spatula.
Bake to Perfection : Pop the pan into the oven and bake for about 30-35 minutes until the edges begin to brown and a toothpick inserted in the center comes out clean. Your house will smell like a tropical paradise, seriously, where’s my lei?
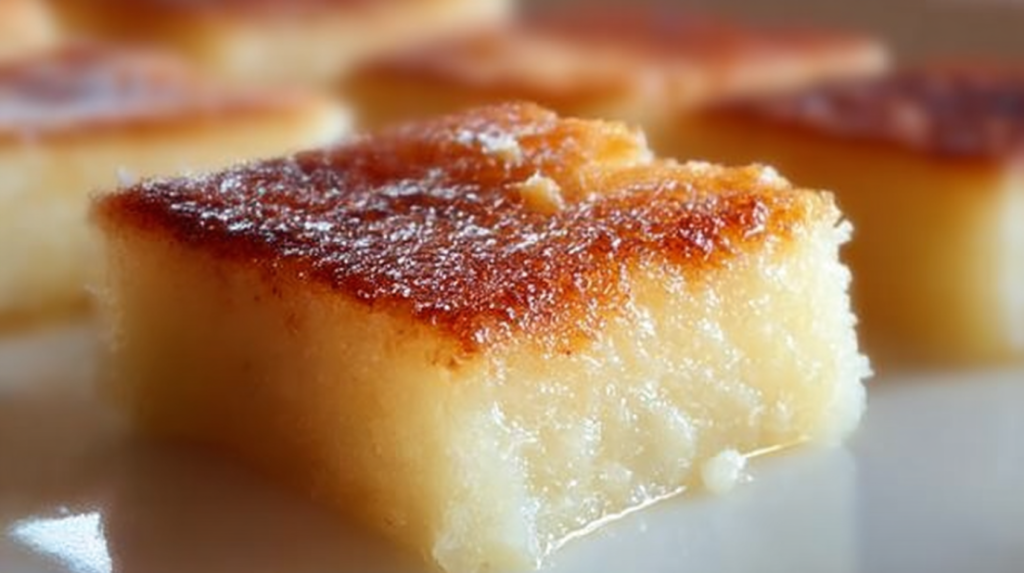
Cool and Slice : Allow the mochi to cool in the pan for about 10 minutes, then turn it out onto a cutting board to cool completely before slicing into squares.
Why I Love This Recipe
This is my go-to recipe when I need a comforting dessert that’s quick and relatively easy! I’m a real sucker for anything with coconut; it reminds me of my vacation days in Hawaii (not that I go often, but a girl can dream, right?). And the best part is that you can use whatever you’ve got hiding in your pantry! The flexibility of this butter mochi is unbeatable, seriously, I’ve made it countless times, and it always hits the spot!
If you loved this Hawaiian Butter Mochi, be sure to check out my Mochi Brownies, my Mango Mochi, or my Strawberry Mochi! They all pair perfectly with the flavors of this delightful dessert!
Why This Recipe Works
Quick & Easy
This Hawaiian Butter Mochi comes together in under 30 minutes! Simply whisk up the ingredients and toss it in the oven. You’ll have a delightful dessert in no time!
Budget-Friendly
You’re likely to have most of these ingredients at home already, which makes this recipe easy on the wallet. With affordable staples, you’ll be creating a fabulous dessert without breaking the bank!
Customizable
One of the beauties of this recipe is that you can totally switch it up based on what you have. Want to add chocolate chips? Go for it! How about some nuts? Absolutely! The world is your oyster!
Comfort Food
Comfort food comes in many shapes and forms, and this Vanilla Coconut Butter Mochi is no exception. It’s warm, tender, and makes you feel all cozy inside.
Make-Ahead Friendly
You can make this delicious dessert ahead of time! It keeps well in the fridge for several days, perfect for those busy weekdays when you crave something sweet but don’t have time to bake.
Serving and Storage Tips
Serving Suggestions: Serve this buttery goodness warm or at room temperature, perhaps with a scoop of vanilla ice cream or whipped cream for an extra luxurious touch.
Storage: Unused portions can be stored in an airtight container in the fridge for up to 5 days. If it’s gone past that, don’t even think twice, time for a batch two! Who wouldn’t want Hawaiian Butter Mochi on repeat?
Reheating Instructions: Simply microwave individual pieces for about 10-15 seconds or toss in a toaster oven until warmed. You want it just warm enough to get those cozy vibes back, and enjoy!
Freezer Friendly: Yes! You can freeze leftovers for up to 3 months. Just make sure to wrap them tightly in plastic wrap and then foil to avoid freezer burn.
Whether you’re bringing a slice to a potluck or serving it up as a weeknight treat, this Hawaiian Butter Mochi is sure to be a crowd-pleaser. Enjoy every chewy bite, and remember: food is all about sharing joy and making memories. Happy cooking! Follow us on Pinterest for daily meal inspiration!
Hawaiian Butter Mochi
Ingredients
Method
- Preheat your oven to 350°F (175°C).
- In a large mixing bowl, whisk together melted butter, sugar, and coconut milk until smooth.
- Add eggs one at a time, whisking after each addition, then stir in the vanilla extract.
- In a separate bowl, sift together sweet rice flour, baking powder, and a pinch of salt.
- Gradually mix the dry ingredients into the wet mixture until just combined. If using, fold in shredded coconut.
- Grease a square 9×9-inch (or 8×8-inch) baking pan and pour the batter in, smoothing it out.
- Bake for about 30-35 minutes until edges brown and a toothpick comes out clean.
- Cool in the pan for 10 minutes, then turn out onto a cutting board to cool completely before slicing.