
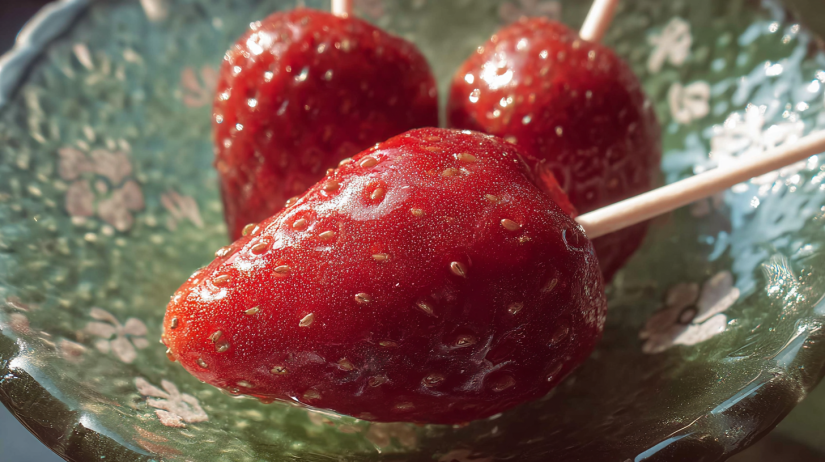
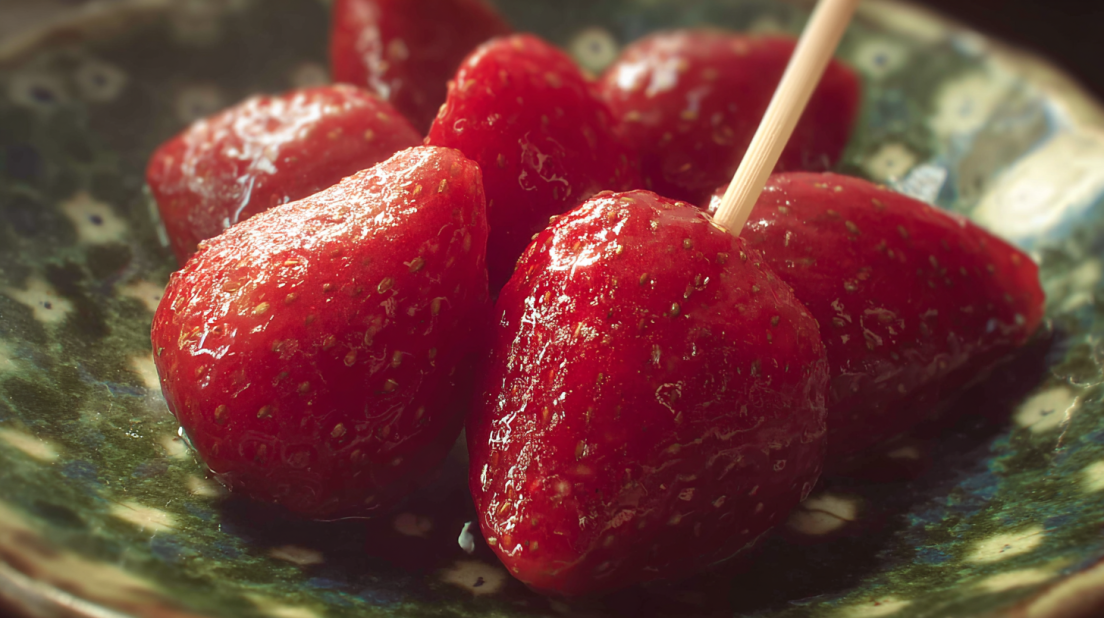
Let me tell you, these Japanese Candied Strawberries are something special! They come together in about 30 minutes with just a few simple steps. And the best part? It’s a no-bake recipe! Your family will absolutely love these sweet, shiny treats. If you want to switch things up, feel free to toss in some fun toppings like crushed nuts or sprinkles, or use whatever fruit you have lying around! It’s like summer on a skewer, and perfect for those busy weeknight desserts, or just because!
Ingredient Breakdown
- Sugar
- Water
- Lemon Juice
- Strawberries
Let’s Get Cooking!
Before diving in, let’s wash those beautiful strawberries! Give them a good rinse and then dry them thoroughly. This is super important because if there’s any water left, the candy coating won’t stick. You want those puppies to be at room temperature too, so let them hang out on the counter for a bit while you’re prepping.
Step 1: Prepare the Strawberries
Pull off the leaves, and leave the cores intact, this really helps hold onto the skewers. Now grab some cute bamboo skewers (or whatever you have handy) and pierce each strawberry right down the center. You could use toothpicks, but I’ve learned from experience that the skewer is sturdier and safer when dipping into hot syrup. Just being practical!
Step 2: Making the Candy Syrup
In a small saucepan, combine the water, sugar, and lemon juice. Give it a gentle stir just to mix everything together like, one swirl and you’re done! It’s essential not to stir it while it’s boiling because, trust me, it could get all thick and grainy, and we don’t want that!
Turn the heat up to medium-high and bring it to a boil. Keep an eye on it, as we’ll let it cook down for about 12 minutes. You want that syrup to hit between 300°F and 310°F (150°C to 155°C). This is where a candy thermometer becomes your best friend! Just a heads up, after it reaches around 260°F (127°C), it will rise quickly. You’ll start to notice a lovely light amber color forming, don’t be afraid to marvel at it!
Step 3: Dipping the Strawberries
Okay, once you’ve hit that sweet temperature, carefully remove the saucepan from the heat. Here comes the fun part! Grab a skewer with your berry, and dip it into the syrup. Swirl it around to get a full coat. I like to tilt the pan a bit to make it easier, less mess equals more candy fun, right?
Lift it out and let the excess syrup drip off. Try to keep it thin; the crispier the candy coating, the better! You totally want that satisfying crunch sound when biting in. Place the dipped strawberries onto a parchment-lined baking sheet (because no one likes sticky disasters!), and let them cool and harden up.
Waiting Time
Oh, this part is so hard! The anticipation! Let them sit for about 30 minutes to fully set. I often sneak one (or three) before they cool, just to check. You know, for quality control!
Why I Love This Recipe
This is my go-to recipe for when I want a sweet treat that feels special but doesn’t take all day! Seriously, I’m a real sucker for anything that can turn my plain strawberries into something fabulous. Not only does it hit that comfort-food spot, but it’s versatile too! You can use whatever fruit you’ve got hiding in the fridge. The best part? It brings a bit of sunny Japan right into my kitchen!
If you loved this recipe, be sure to check out my Easy Strawberry Mochi, Quick Shiroi Koibito, or my Japanese Cotton Candy Swiss Cake Roll!
Why This Recipe Works
Quick & Easy
Coming together in under 30 minutes means you can whip this up after dinner while everyone lounges about, or even earlier in the day as a fun treat for later.
Customizable
Use whatever fruits you have on hand! Strawberries are traditional, but bananas, apple slices, or even pretzels can be dipped into that sticky goodness, let your creativity flow!
Crowd-Pleaser
Trust me, whether it’s a birthday party, a picnic, or just a regular Tuesday evening, these candied strawberries are a total crowd-pleaser. Everyone gets excited about fun, shiny fruit on a stick, and they won’t last long.
Serving and Storage Tips
These Japanese Candied Strawberries are best enjoyed the same day they’re made because you want that crispy coating to shine! If you do have any leftovers (which is rare in my house), you can store them in a container lined with parchment paper. They will keep in the fridge for up to 24 hours, but beware, storing them too long can start to soften that delightful crunch.
Reheating Instructions: You really don’t want to reheat candied strawberries, as they’re best fresh. But if you really have to, pop them in a warm oven for just a minute on low heat, but it’s better to eat them as they are!
Freezer-Friendly? Nope, not recommended! These are really best enjoyed fresh.
And there you have it! This delightful, quick and easy Japanese Candied Strawberries recipe is sure to win over your family’s hearts (and stomachs!) every single time. Happy candy-making! Follow us on Pinterest for daily meal inspiration!
Japanese Candied Strawberries
Ingredients
Method
- Wash the strawberries thoroughly and dry them completely to ensure the candy coating sticks.
- Remove the green leaves and pierce each strawberry with a skewer.
- In a small saucepan, combine water, sugar, and lemon juice; stir gently to mix.
- Bring the mixture to a boil over medium-high heat without stirring.
- Cook for about 12 minutes or until the syrup reaches 300°F to 310°F (150°C to 155°C), watching closely for color changes.
- Once the syrup reaches the desired temperature, carefully dip each strawberry into the syrup, swirling to coat.
- Allow excess syrup to drip off before placing the dipped strawberries on a parchment-lined baking sheet.
- Let the dipped strawberries cool and harden for approximately 30 minutes.