
Introduction
If you’ve ever dreamt of making delicious homemade ice cream, sorbet, or frozen yogurt at home without the hassle of an ice cream machine, the Ninja Creami might just be your new best friend. This innovative appliance allows you to create an endless variety of frozen treats in a matter of minutes, all while controlling the ingredients you use. Whether you’re looking to make a rich and creamy vanilla ice cream, a refreshing fruity sorbet, or even healthy dairy-free alternatives, the Ninja Creami has you covered.
In this guide, we’ll walk you through everything you need to know to create mouthwatering frozen desserts using your Ninja Creami machine. From basic recipes to unique and fun twists, we’ve got plenty of creative ideas to inspire your next frozen creation. Get ready to elevate your dessert game and impress family and friends with your homemade frozen delights!
What Is the Ninja Creami?
Before diving into the recipes, let’s take a moment to explore what the Ninja Creami actually is and how it works. The Ninja Creami is an ice cream maker and frozen dessert machine that makes it incredibly easy to craft smooth, creamy frozen treats at home. Unlike traditional ice cream makers that require constant stirring and freezing time, the Ninja Creami operates with a unique process where you simply freeze your ingredients in a pint, place it in the machine, and then let it do the work.
Key Features of the Ninja Creami:
- Easy-to-Use Controls: The machine offers preset modes for different textures like ice cream, sorbet, smoothie bowls, and more, allowing you to choose your desired outcome.
- Fast Freezing: You prepare the base in advance and freeze it overnight, and the next day, your Ninja Creami will spin it into your chosen treat in minutes.
- Versatility: It’s not just for ice cream; you can make frozen yogurt, milkshakes, sorbets, protein-packed smoothies, and even frozen coffee desserts!
- Customizable: You can get creative with your ingredients, adding in various mix-ins, fruits, chocolates, or even protein powders for a healthier option.
The ease of use and the ability to make a wide range of frozen desserts make the Ninja Creami a popular choice for anyone looking to enjoy custom-made, healthier frozen treats. Whether you’re making a classic ice cream flavor or experimenting with something new, the possibilities are endless.
Tips for Perfect Ninja Creami Recipes
Now that you know what the Ninja Creami is and how it works, let’s talk about how to get the best results when making frozen treats with it. Below are some expert tips to help you achieve the perfect texture and flavor every time.
1. Choosing the Right Ingredients
One of the most important factors when making frozen treats with the Ninja Creami is selecting the right ingredients. Whether you’re using dairy or non-dairy options, the base of your recipe should have enough fat and sugar to ensure a creamy texture once frozen. For example:
- Dairy-Based: Use heavy cream or full-fat milk for creamy, rich ice cream bases.
- Non-Dairy: For vegan or lactose-free recipes, opt for full-fat coconut milk or almond milk to mimic the creamy texture of traditional ice cream.
2. Freezing the Base Properly
For the best results, it’s crucial to freeze your base for at least 24 hours in the Ninja Creami’s pint container. The longer it freezes, the smoother the texture will be when the machine spins it. Don’t try to rush the freezing process — it’s important to freeze the mixture completely before blending it into your desired frozen treat.
3. Achieving the Perfect Texture
The Ninja Creami is great at turning frozen bases into smooth, creamy desserts, but the consistency of the mixture before freezing is important. If the mixture is too runny, your final product might end up too soft. If it’s too thick, it could be difficult to process. Make sure your mixture has the right balance of ingredients: enough creaminess but not so much that it freezes into a rock-hard block.
4. Add Mix-ins at the Right Time
When you’re making ice cream, sorbet, or any other frozen dessert, you can add mix-ins like chocolate chips, crushed cookies, or fruit. The Ninja Creami has a “Mix-In” mode for these extras, so wait until after your base is done before adding them. You can also swirl in caramel, peanut butter, or fudge once the base is creamy and smooth.
5. Adjust for Texture
Sometimes, after using the Ninja Creami, you may find your frozen treat is a little too soft. If that’s the case, just return the pint to the freezer for an hour or so, and when you spin it again, you’ll get a firmer texture. If it’s too hard, simply let it sit out for a few minutes before spinning again to achieve that perfect creamy consistency.
Basic Ninja Creami Ice Cream Recipe
Let’s start with some simple, classic ice cream recipes that you can easily make at home with your Ninja Creami. These recipes are perfect for beginners, and once you master them, you can get creative by adding your own twist!
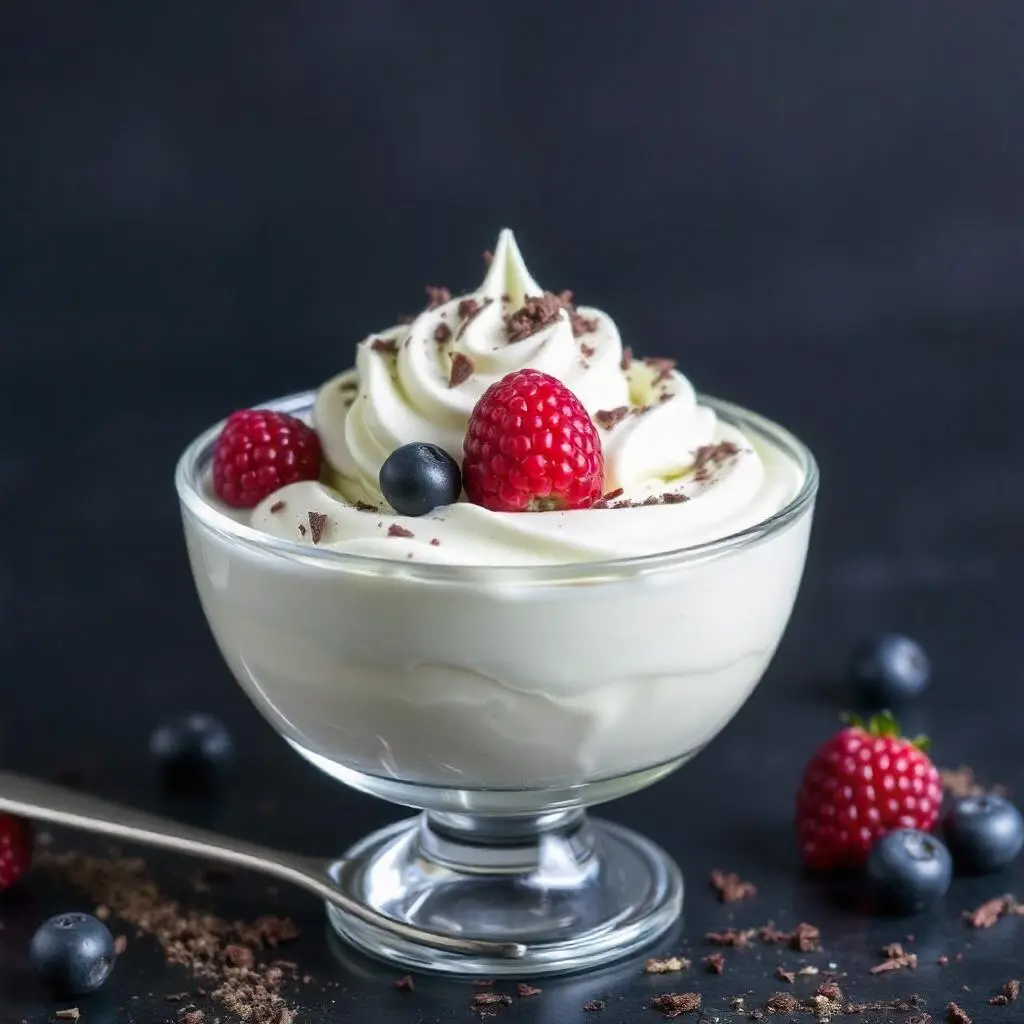
Classic Vanilla Ice Cream
Ingredients:
- 2 cups heavy cream
- 1 cup whole milk
- 3/4 cup granulated sugar
- 1 tablespoon pure vanilla extract
Instructions:
- In a mixing bowl, combine the heavy cream, whole milk, granulated sugar, and vanilla extract. Whisk until the sugar has fully dissolved.
- Pour the mixture into the Ninja Creami pint and freeze for at least 24 hours.
- After the mixture is fully frozen, place the pint in the Ninja Creami machine and select the “Ice Cream” function.
- Once the ice cream is done, scoop into bowls and serve. Enjoy your homemade, creamy vanilla ice cream!
Chocolate Ice Cream
Ingredients:
- 2 cups heavy cream
- 1 cup whole milk
- 1/2 cup cocoa powder
- 3/4 cup sugar
- 1 teaspoon vanilla extract
- A pinch of salt
Instructions:
- In a bowl, whisk together the cocoa powder, sugar, salt, heavy cream, whole milk, and vanilla extract until smooth.
- Pour the chocolate mixture into the Ninja Creami pint and freeze for 24 hours.
- Place the frozen pint into the Ninja Creami and select the “Ice Cream” function.
- Scoop into bowls and serve. This rich, chocolatey ice cream is perfect for chocolate lovers!
Strawberry Ice Cream
Ingredients:
- 2 cups heavy cream
- 1 cup whole milk
- 1/2 cup sugar
- 1 teaspoon vanilla extract
- 1 1/2 cups fresh strawberries (sliced and mashed)
Instructions:
- In a bowl, mix the heavy cream, whole milk, sugar, and vanilla extract until the sugar is dissolved.
- Mash the fresh strawberries and stir them into the cream mixture.
- Pour everything into the Ninja Creami pint and freeze for 24 hours.
- After freezing, place the pint in the Ninja Creami machine and choose the “Ice Cream” setting.
- Serve in bowls or cones for a refreshing strawberry treat!
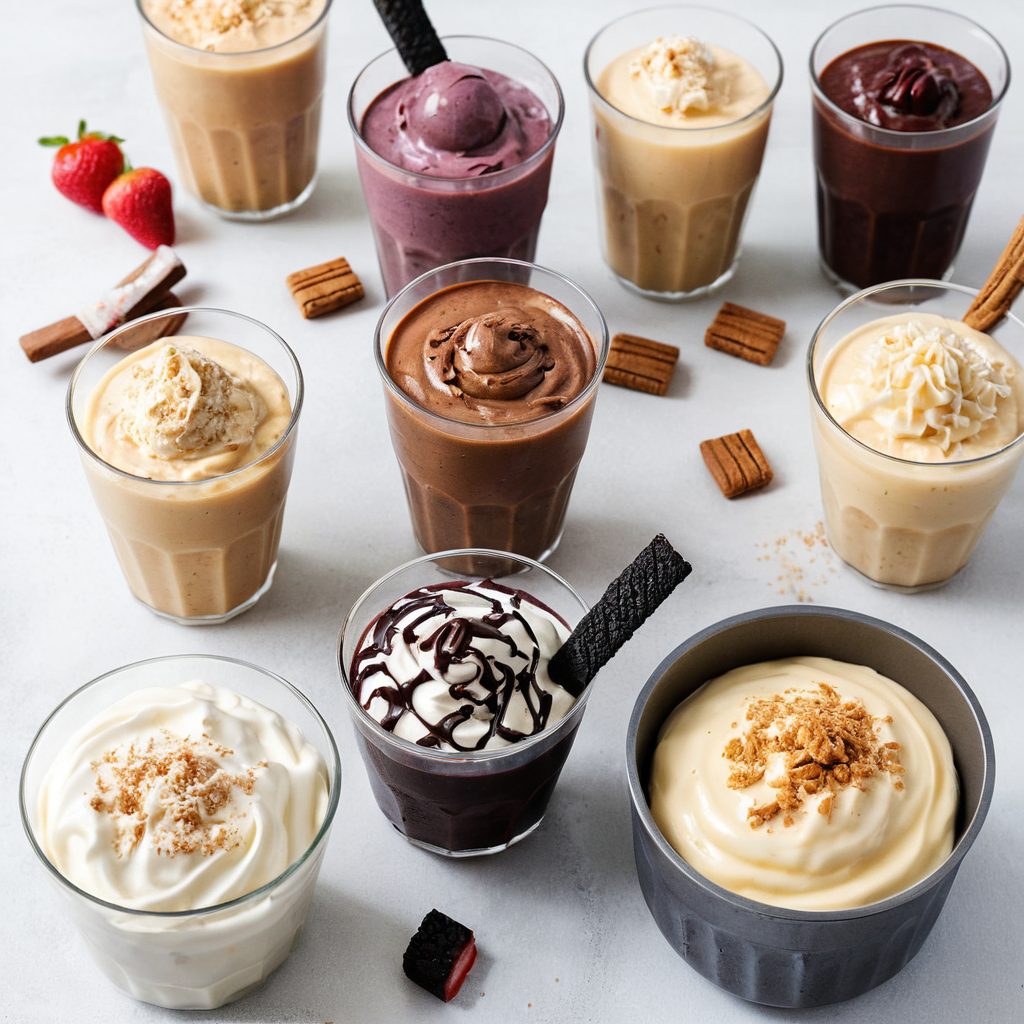
Creative and Fun Ninja Creami Recipes
Once you’ve mastered the basics, it’s time to get creative with your Ninja Creami! This section will guide you through some fun and indulgent recipes that will impress your friends and family. These recipes go beyond the traditional ice cream flavors and incorporate delicious mix-ins and unique ingredients to give you something truly special.
Cookies and Cream Ice Cream
Who doesn’t love a classic cookies and cream ice cream? This recipe combines creamy vanilla ice cream with crunchy Oreo cookies for the perfect balance of smooth and crunchy. It’s an irresistible treat that’s sure to be a hit at any gathering.
Ingredients:
- 2 cups heavy cream
- 1 cup whole milk
- 3/4 cup sugar
- 1 teaspoon vanilla extract
- 10-12 Oreo cookies (or similar chocolate sandwich cookies)
Instructions:
- In a mixing bowl, whisk together the heavy cream, whole milk, sugar, and vanilla extract until the sugar is fully dissolved.
- Gently crush the Oreo cookies into large chunks and stir them into the cream mixture.
- Pour the mixture into the Ninja Creami pint and freeze for at least 24 hours.
- After the freezing time is complete, place the pint into the Ninja Creami and use the “Ice Cream” setting to process.
- Once done, scoop the creamy, cookie-filled ice cream into bowls or cones and serve.
This Cookies and Cream Ice Cream recipe delivers the perfect amount of chocolatey crunch with every bite, making it an all-time favorite!
Salted Caramel Swirl Ice Cream
For a sophisticated yet indulgent treat, try this Salted Caramel Swirl Ice Cream. The creamy base is enhanced with a rich homemade caramel sauce and finished off with a hint of salt to balance the sweetness. This flavor will definitely satisfy your sweet tooth while offering a bit of gourmet flair.
Ingredients:
- 2 cups heavy cream
- 1 cup whole milk
- 3/4 cup sugar
- 1 teaspoon vanilla extract
- 1/2 cup homemade caramel sauce (or store-bought)
- 1/2 teaspoon sea salt
Instructions:
- To make the caramel sauce, heat 1/2 cup sugar in a pan over medium heat, stirring constantly. Once the sugar melts and turns golden, slowly add 1/4 cup heavy cream. Continue stirring until smooth. Let it cool slightly.
- In a bowl, whisk together the heavy cream, whole milk, sugar, and vanilla extract until smooth.
- Stir in the cooled caramel sauce and sea salt, ensuring it’s evenly distributed.
- Pour the mixture into the Ninja Creami pint and freeze for 24 hours.
- After the freezing time is complete, process the mixture in the Ninja Creami using the “Ice Cream” setting.
- When done, swirl in extra caramel sauce if desired before serving. The result is a sweet, salty, and creamy ice cream that will have everyone coming back for more!
Mint Chocolate Chip Ice Cream
This refreshing ice cream is perfect for those who enjoy the cool flavor of mint paired with the crunch of chocolate chips. Mint Chocolate Chip Ice Cream is a classic flavor that’s both invigorating and satisfying.
Ingredients:
- 2 cups heavy cream
- 1 cup whole milk
- 3/4 cup sugar
- 1 teaspoon peppermint extract
- 1/2 cup mini chocolate chips
- Green food coloring (optional)
Instructions:
- In a mixing bowl, combine the heavy cream, whole milk, sugar, and peppermint extract. Whisk until the sugar is fully dissolved.
- For a minty green color, add a few drops of green food coloring (optional) and mix well.
- Stir in the mini chocolate chips to the mixture.
- Pour the mixture into the Ninja Creami pint and freeze for 24 hours.
- Once the freezing time is up, place the pint in the Ninja Creami and select the “Ice Cream” function.
- Scoop into bowls or cones, and enjoy the fresh mint flavor with crunchy chocolate chips!
The combination of refreshing mint and rich chocolate chips creates a well-loved treat that’s both creamy and cool!
Non-Dairy and Healthy Ninja Creami Recipes
Not everyone can enjoy traditional dairy-based ice cream, and others may simply want to enjoy a healthier treat. Luckily, the Ninja Creami is incredibly versatile, and you can make both vegan and low-carb frozen desserts. Whether you’re avoiding dairy, gluten, or sugar, we’ve got you covered with these delicious recipes.
Vegan Chocolate Ice Cream
This dairy-free recipe uses coconut milk as the base for a rich and creamy chocolate ice cream that’s perfect for vegans or those looking to avoid dairy. It’s so rich and satisfying, no one will guess it’s vegan!
Ingredients:
- 2 cans full-fat coconut milk (14 oz each)
- 1/2 cup unsweetened cocoa powder
- 3/4 cup maple syrup or agave syrup
- 1 teaspoon vanilla extract
- Pinch of salt
Instructions:
- In a large bowl, whisk together the coconut milk, cocoa powder, maple syrup, vanilla extract, and salt until smooth and fully combined.
- Pour the mixture into the Ninja Creami pint and freeze for 24 hours.
- Once frozen, place the pint into the Ninja Creami and use the “Ice Cream” setting.
- After processing, scoop and serve this creamy, chocolatey goodness that’s completely dairy-free!
This vegan chocolate ice cream is rich and velvety, making it the perfect dessert for anyone on a dairy-free or plant-based diet.
Low-Carb Strawberry Sorbet
For a refreshing, low-sugar dessert, this Low-Carb Strawberry Sorbet is a perfect choice. With just a few ingredients and a touch of natural sweetener, you’ll get a fruity sorbet that’s full of flavor and low in carbs.
Ingredients:
- 3 cups fresh or frozen strawberries
- 1/4 cup water
- 2 tablespoons erythritol or stevia (or any preferred low-carb sweetener)
- 1 tablespoon lemon juice
Instructions:
- In a blender, combine the strawberries, water, sweetener, and lemon juice. Blend until smooth.
- Pour the mixture into the Ninja Creami pint and freeze for at least 24 hours.
- After freezing, place the pint into the Ninja Creami and use the “Sorbet” function to process.
- Serve immediately for a refreshing and guilt-free treat!
This Low-Carb Strawberry Sorbet is the perfect way to satisfy your sweet tooth without the sugar overload.
Protein-Packed Frozen Yogurt
For those looking for a healthy treat that’s high in protein, this Protein-Packed Frozen Yogurt recipe is the answer. Made with Greek yogurt and added protein powder, it’s a great way to indulge while still getting a nutritional boost.
Ingredients:
- 2 cups plain Greek yogurt (or non-dairy yogurt for a vegan version)
- 1 scoop vanilla protein powder
- 1/4 cup honey or maple syrup
- 1/2 teaspoon vanilla extract
Instructions:
- In a mixing bowl, whisk together the Greek yogurt, protein powder, honey, and vanilla extract until smooth.
- Pour the mixture into the Ninja Creami pint and freeze for 24 hours.
- After the freezing time is complete, place the pint into the Ninja Creami and process using the “Frozen Yogurt” setting.
- Serve immediately and enjoy a protein-packed, creamy frozen treat!
This protein-packed frozen yogurt makes for a healthy and delicious dessert that can even be eaten as a post-workout snack!
Ninja Creami Smoothies and Sorbets
If you’re craving something fruity and refreshing, the Ninja Creami can also help you create smoothies and sorbets that are perfect for hot weather or just a healthy snack. These recipes are great for cooling off and enjoying something light and satisfying.
Tropical Paradise Sorbet
Transport yourself to a tropical beach with this refreshing Tropical Paradise Sorbet. Made with a blend of mango, pineapple, and coconut, it’s a sweet and tangy sorbet that’s packed with flavor.
Ingredients:
- 2 cups frozen mango chunks
- 1 cup frozen pineapple chunks
- 1/2 cup coconut milk
- 1 tablespoon lime juice
- 1-2 tablespoons honey or agave syrup (optional)
Instructions:
- In a blender, combine the mango, pineapple, coconut milk, lime juice, and honey (if using). Blend until smooth.
- Pour the mixture into the Ninja Creami pint and freeze for at least 24 hours.
- After freezing, place the pint into the Ninja Creami and use the “Sorbet” function to process.
- Serve immediately and enjoy the tropical flavors of this refreshing sorbet!
Green Smoothie Bowl
For a healthy, smoothie-based treat, this Green Smoothie Bowl is the way to go. Packed with spinach, banana, and frozen berries, it’s a nutritious and delicious dessert or breakfast option.
Ingredients:
- 1 cup frozen spinach
- 1/2 cup frozen mixed berries
- 1/2 banana (frozen)
- 1/4 cup almond milk (or any milk of choice)
- Toppings: granola, chia seeds, sliced fruit
Instructions:
- In a blender, combine the spinach, mixed berries, banana, and almond milk. Blend until smooth.
- Pour the mixture into the Ninja Creami pint and freeze for 24 hours.
- After freezing, place the pint in the Ninja Creami and process using the “Smoothie Bowl” function.
- Serve with your favorite toppings such as granola, sliced fruit, or chia seeds for added texture.
This Green Smoothie Bowl is a delicious and nutritious way to enjoy the health benefits of leafy greens and fruits!
Conclusion
The Ninja Creami is an amazing kitchen appliance that makes creating homemade ice cream, sorbets, and smoothies easier than ever before. Whether you’re craving a classic ice cream flavor, something healthy, or even a dairy-free alternative, the Ninja Creami has you covered. Experimenting with different ingredients and mix-ins will keep your treats exciting and fresh, and the ease of use makes it fun for everyone in the family to get involved. Now that you have these recipes at your fingertips, it’s time to start creating your frozen desserts today! Happy blending!