
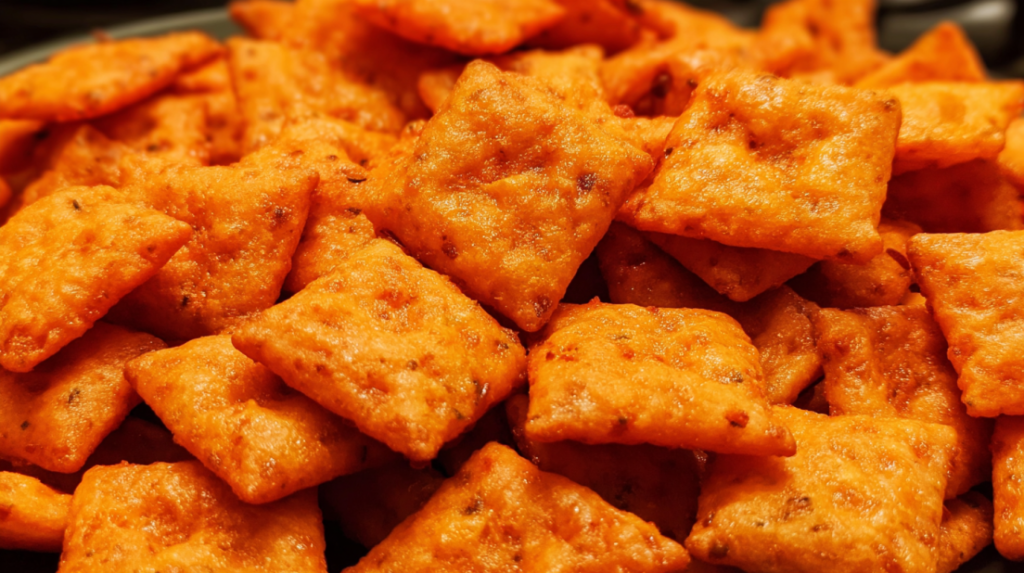
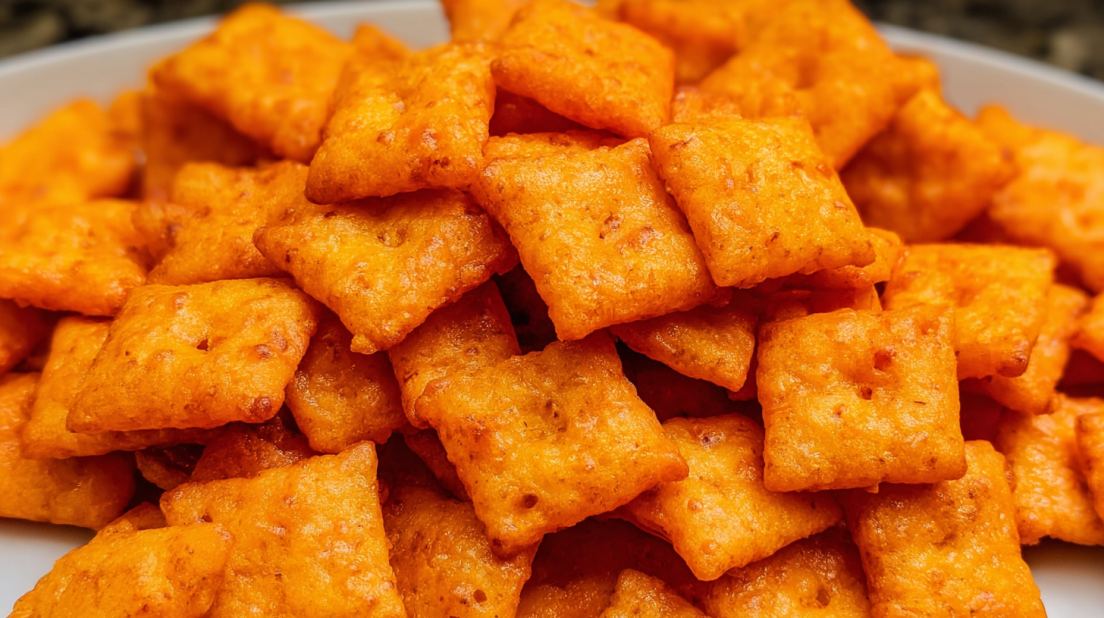
Oh, my goodness, you guys! If you haven’t yet discovered the magic of making Homemade Cheez Its in just about 30 minutes, then you are in for a real treat. Seriously, this snack comes together all in one bowl, making it a super quick and easy treat perfect for busy weeknights or to impress guests on game night!
I promise, your family will absolutely love these cheesy little bites, and the best part? You can easily switch up the flavors to suit your taste! They’re perfect for cleaning out the fridge, using whatever cheese you have on hand while creating a crunchy snack that’s always a crowd-pleaser! Here’s how to create a delightful batch that will have everyone asking for seconds!
Ingredient Breakdown
- Sharp Cheddar Cheese – 8 ounces, shredded
- All-Purpose Flour – 1 cup
- Salt – 1/2 teaspoon, plus more for topping
- Unsalted Butter – 1/4 cup, cubed
- Whole Milk – 2 tablespoons (cold)
Let’s Get Cooking!
How to Make Cheez Its
Preheat and Prep: Start by preheating your oven to 325°F and lining 2 baking sheets with parchment paper. This will make cleanup a breeze, thank me later!
Mix the Dry Ingredients: Add the shredded cheese, flour, and salt to a food processor. Pulse several times until combined (this takes like, no time, seriously).
Incorporate the Butter: Add the cold, cubed butter to the cheese mixture and pulse a few more times. We want the dough to resemble coarse crumbs at this point, so don’t overdo it.
Add the Milk: Now, add in the milk and pulse again! Here’s the thing: the dough won’t come together in a perfect ball, but it’ll feel cohesive when you press it between two fingers, if it’s too crumbly, sprinkle in a tiny bit more milk.
Roll It Out: Transfer the mixture onto a lightly floured surface and roll it into a large rectangle, rolling it as thinly as possible, aim for thinner than 1/8 inch because they puff up a bit when baking.
Cut the Crackers: Grab a knife, a pizza cutter, or a fluted pastry wheel, and slice the dough into 1-inch squares. Use a skewer (or something similar) to poke a hole through the center of each cracker. Transfer those little beauties to your prepared baking sheets and sprinkle with a little more salt on top.
Bake Away: Slide the pans into the oven and let them bake for 17-20 minutes, watching closely until they are deep golden brown on the bottom. The trick here is: if they look too light, they won’t have the crisp you’re looking for.
Cool and Enjoy: Let them cool completely on the baking sheet trust me, this is tough but it’s worth the wait! Once they’re cool, dive right in!
Why I Love This Recipe
Honestly, this is my go-to recipe when I need a quick and easy snack that everyone in my family can enjoy. And let me attest, I’m a real sucker for those cheesy flavors that scream comfort food! Every time I make them, I can’t help but smile knowing how much my kiddos love them, even my picky eater asked for seconds last time, and you guys that’s a WIN!
The best part? The versatility! You can use whatever you’ve got on hand, whether that’s a mix of cheeses or throwing in some herbs or spices for a fun twist. I mean, who doesn’t love a snack that gets nods of approval from the whole family?
If you loved this recipe, be sure to check out my Homemade Gummy Peach Rings, my Peanut Butter Granola Bars, or my Homemade Fudge Popsicles!
Why This Recipe Works
Quick & Easy
This recipe comes together in under 30 minutes. You don’t need to spend the whole day in the kitchen!
Budget-Friendly
Uses affordable, everyday ingredients. A few pantry staples can transform into a crunchy delight!
Customizable
Use whatever cheese you have on hand! The possibilities are endless, mix, match, and make it your own.
Crowd-Pleaser
The whole family will love it! It’s hard to resist that cheesy, utterly snackable goodness.
Perfect for Meal Prep
Make these snacks ahead of time and enjoy them during the week. They’re perfect for on-the-go snacking or packed lunches!
Serving Suggestions
These Homemade Cheez Its pair wonderfully with just about anything! Here are a few fun ways to serve them:
- Serve with a side of creamy ranch dip or my favorite spicy cheese dip!
- Pair them with some fresh vegetables or a seasonal fruit platter for a balanced snack.
- Pack them with you on game nights or while binge-watching your favorite shows.
Storage & Reheating Tips
- Storage: Keep your Cheez Its in an airtight container at room temperature. They’ll stay crunchy for about 1 week. If they don’t get devoured sooner, that is!
- Reheating: Need to bring back that crunch? Just pop them in the oven for a few minutes at 350°F to freshen them up.
- Freezer Friendly: Yes! You can freeze the unbaked dough for up to 3 months. Just wrap it tightly! When you’re ready to bake, let it thaw in the fridge overnight.
Final Thoughts
And there you have it! Making Homemade Cheez Its is not just a fun project, but it’s also a delicious way to create a snack that’s loaded with tons of flavor. Seriously, once you start, you might never buy those store-bought versions again. So what are you waiting for? Roll up those sleeves, grab your cheese, and let’s make some crackers!
This is perfect for those brisk fall days or any time you’re craving a simple but incredibly satisfying snack. I can’t wait for you to try these out, and I hope they become your new favorite go-to recipe for family movie nights or lazy Sunday afternoons!
This blog post is packed with all the charm, warmth, and practicality every busy family needs. Infusing a personal touch and a hint of spontaneity, I hope it highlights how delightful cooking can be, especially when it involves something as delicious as Cheez Its! Check back soon for more recipes and shared moments of kitchen joy! Follow us on Pinterest for daily meal inspiration!
Homemade Cheez Its
Ingredients
Method
- Preheat your oven to 325°F and line 2 baking sheets with parchment paper.
- Add the shredded cheese, flour, and salt to a food processor and pulse until combined.
- Incorporate the cold, cubed butter into the cheese mixture and pulse until it resembles coarse crumbs.
- Add the cold milk and pulse again until the dough feels cohesive when pressed between two fingers.
- Transfer the mixture onto a lightly floured surface and roll it into a large rectangle, thinner than 1/8 inch.
- Cut the dough into 1-inch squares and poke a hole through the center of each cracker.
- Transfer to the prepared baking sheets and sprinkle with additional salt.
- Bake for 17-20 minutes until deep golden brown on the bottom.
- Allow to cool completely on the baking sheets before enjoying.