
What’s better than a delicious brownie? How about a quick and easy brownie in a mug that comes together in about 1 minute and can be whipped up in your microwave for the ultimate last-minute treat? This delightful dessert is perfect for satisfying that sweet tooth and is guaranteed to be a hit with the whole family! You can switch up the toppings or mix in your favorite add-ins, making it a versatile recipe that helps you clean out the pantry or fridge. Seriously, you’ll be making this “clean-out-the-fridge” treat all week long!
Ingredient Breakdown
- 3 tablespoons granulated sugar
- 3 tablespoons all-purpose flour
- 1 ½ tablespoons unsweetened cocoa powder
- Pinch of salt
- 2 tablespoons chocolate chips
- 1 ½ tablespoons vegetable oil or melted butter
- 3 tablespoons milk
- ¼ teaspoon vanilla extract
- Optional toppings
How to Make This Quick and Easy Brownie in a Mug
Start by combining 3 tablespoons of granulated sugar, 3 tablespoons of all-purpose flour, 1 ½ tablespoons of unsweetened cocoa powder, and a pinch of salt in a microwave-safe mug. Give these dry ingredients a good stir until they’re well mixed.
Now, add in 2 tablespoons of chocolate chips. Stir them in gently, letting them mix with the dry ingredients.
Pour in 1 ½ tablespoons of vegetable oil (or melted butter), 3 tablespoons of milk, and ¼ teaspoon of vanilla extract. Mix everything together just until combined; don’t overmix! (Trust me; I’ve gone there before.)
If you’re feeling extra, sprinkle a few more chocolate chips on top for good measure. Who doesn’t want more chocolate, right?
Pop it in the microwave for about 60 seconds. Peek in to see if it’s done, then microwave in 10-second increments if needed. The brownie is ready when it’s firm but not too dry, keep an eye on it!
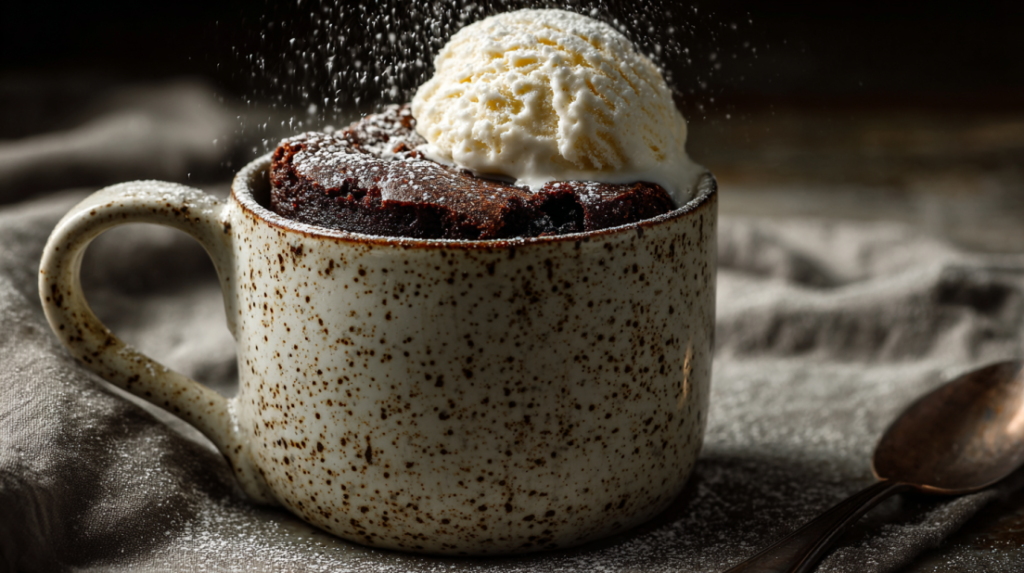
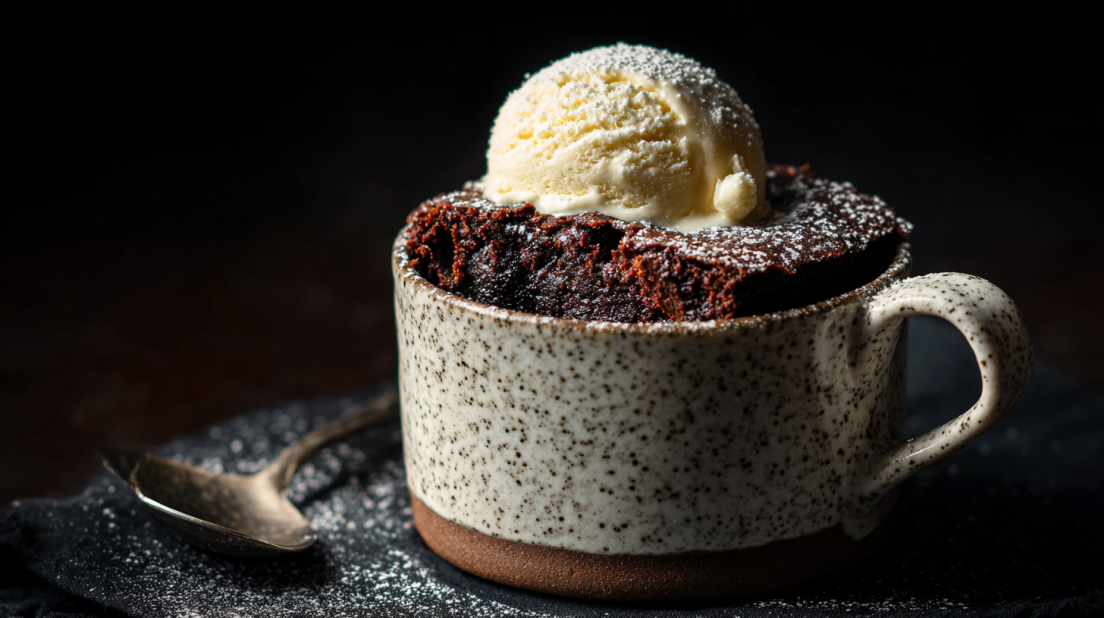
Let it cool slightly if you’re planning to top it, now’s the time! A scoop of vanilla ice cream on a warm brownie is literally the best!
Why I Love This Brownie in a Mug Recipe
This quick and easy brownie in a mug is my go-to recipe when I’m craving something sweet but don’t want to spend an hour in the kitchen. Seriously, it’s like instant gratification for your dessert cravings! I love how you can customize it with whatever you’ve got on hand, making it a real lifesaver during busy weeknights or when the family suddenly demands dessert. Don’t even get me started on the smell, it’s heavenly! It fills the house with that warm, chocolatey aroma that’s just so comforting.
And the best part is, you can whip it up in no time! I’m a real sucker for desserts that can be made in a matter of minutes, especially when they’re as satisfying as this one. Plus, it keeps the mess minimal, just one mug to clean! That’s a win in my book.
If you loved this brownie recipe, be sure to check out my Chocolate Cheesecake Cupcakes with Cherry Pie Filling, my Taiwanese Castella Cake, or my Easy Red Velvet Cake!
Why This Recipe Works
Quick & Easy
This brownie comes together all in under 5 minutes. That means you can have a decadent dessert ready to enjoy before the kids are even done with their homework! It’s practically the ultimate weeknight treat for busy families.
Minimal Cleanup
All you need is one mug! No mixing bowls, no baking sheets it’s as easy as can be. Just mix and microwave, and you’re set. The less cleanup, the better, right?
Customizable
Guess what? You can tweak the ingredients to match your taste! Have fun with different toppings or flavors; you might try peanut butter chips, so good! You can also use whatever milk you have on hand, or even experiment with flavored extracts for a unique twist.
Crowd-Pleaser
Let’s face it; everyone in the family will love this brownie treat! It’s rich, indulgent, and gives everyone their chocolate fix. The kids will be begging for seconds, trust me!
Comfort Food
Brownies are the textbook definition of comfort food. I mean, what’s better than chocolatey goodness served in the warm confines of your home? It’s like getting a cozy hug from inside a mug!
Serving and Storage Tips
How to Serve This Brownie in a Mug
Honestly, you can’t go wrong with just eating it straight out of the mug! But if you want to elevate it a bit, think about a scoop of ice cream, a drizzle of caramel sauce, or some fresh berries. It’s perfect for sharing (or not, no one will judge you).
Storage
If you end up with leftovers (which, let’s be real, is unlikely), it’ll stay fresh in the fridge for about 2-3 days. Just pop it in a sealed container, and you’re good to go!
Reheating Instructions
To reheat, stick it in the microwave for about 10-15 seconds. Just warm it up, you don’t want it to get tough and chewy!
Freezer Friendly
Unfortunately, this recipe is not freezer friendly, so I recommend making it fresh if the craving strikes. But hey, with all the time saved in making it, you can whip up another one!
Final Thoughts
You’ve just unlocked the secret to a perfectly quick and easy brownie in a mug. This recipe not only satisfies that sweet craving but also comes packed with versatility and comfort. You can customize it, serve it up even fancier, and enjoy it with your loved ones whenever the mood strikes. Seriously, give it a go, and I promise you’ll be hooked!
So, who’s ready to dig in? Your mug, your brownies, it’s the ultimate combo. Eager to see how yours turns out? Snap a pic and share it with me; I’d love to see your delicious creations!
And remember, the next time you’re in need of a speedy dessert solution, this brownie in a mug will always be there waiting. Happy baking! Follow us on Pinterest for daily baking inspiration that brings warmth to your table!
Brownie in a Mug
Ingredients
Method
- Combine 3 tablespoons of granulated sugar, 3 tablespoons of all-purpose flour, 1 ½ tablespoons of unsweetened cocoa powder, and a pinch of salt in a microwave-safe mug. Stir until well mixed.
- Add in 2 tablespoons of chocolate chips and stir gently.
- Pour in 1 ½ tablespoons of vegetable oil (or melted butter), 3 tablespoons of milk, and ¼ teaspoon of vanilla extract. Mix until just combined.
- Sprinkle a few more chocolate chips on top if desired.
- Microwave for about 60 seconds. Check if it’s done and continue microwaving in 10-second increments if needed.
- Let it cool slightly before adding toppings if desired.