
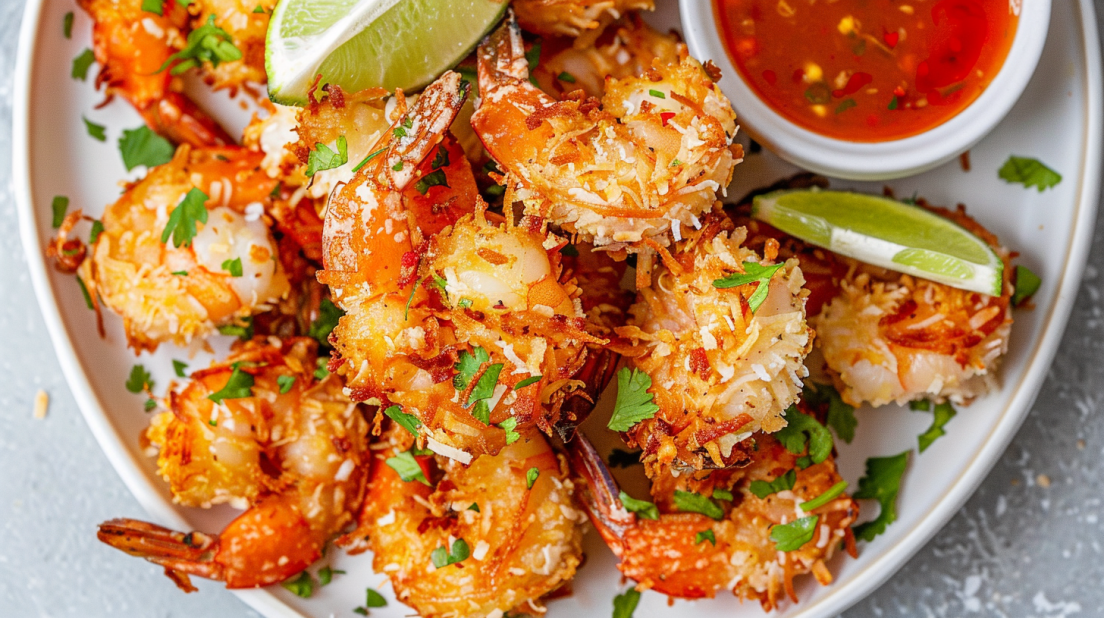
Remember when coconut shrimp meant expensive appetizers at restaurants or dealing with messy deep-frying at home? After perfecting this recipe through countless family dinners (and watching my kids fight over the last crispy piece while declaring “these are better than Red Lobster!”), I can promise these air fryer coconut shrimp deliver that perfect golden, crunchy coconut coating with tender, juicy shrimp inside, no deep fryer mess or restaurant prices required.
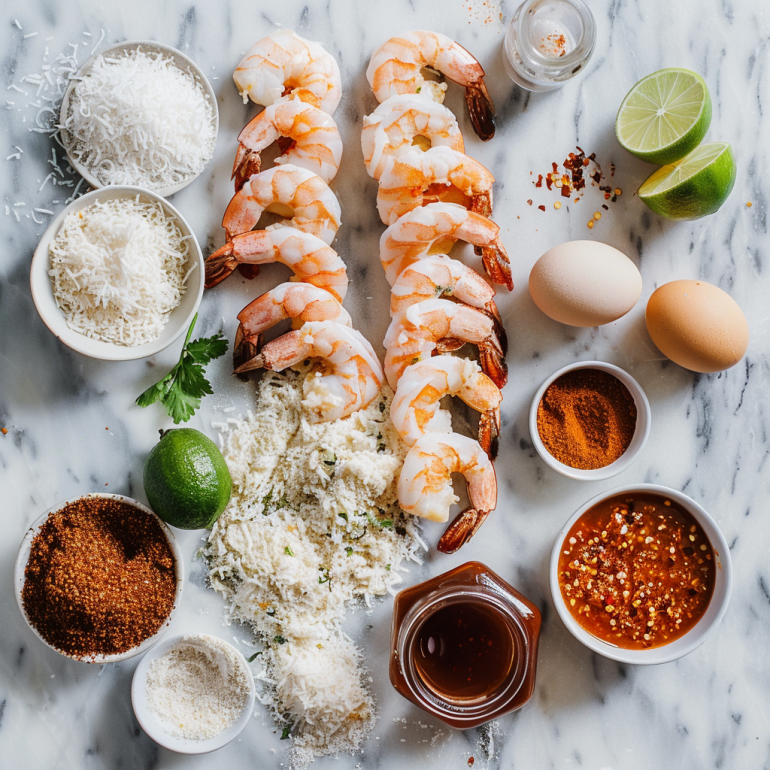
Essential Ingredients (Makes 20-24 Shrimp)
The Shrimp:
- 1 lb large shrimp (20-24 count), peeled and deveined
- Tails left on for presentation (or remove for easier eating)
- Pat completely dry with paper towels
Three-Step Breading Station:
Station 1 – Flour Mixture:
- ½ cup all-purpose flour
- 1 teaspoon garlic powder
- ½ teaspoon salt
- ¼ teaspoon black pepper
- ¼ teaspoon paprika
Station 2 – Egg Wash:
- 2 large eggs
- 2 tablespoons water
- Pinch of salt
Station 3 – Coconut Coating:
- 1½ cups sweetened shredded coconut
- 1 cup panko breadcrumbs (creates extra crunch)
- ½ teaspoon salt
- ¼ teaspoon cayenne pepper (optional, for subtle heat)
For Cooking:
- Cooking spray (coconut oil spray is perfect for this!)
Sweet Chili Dipping Sauce (Essential!):
- ½ cup sweet chili sauce (store-bought or homemade)
- 2 tablespoons orange marmalade or apricot preserves
- 1 tablespoon lime juice
- Pinch of red pepper flakes
Pro tip: Large shrimp (20-24 count) are ideal, big enough for a satisfying bite but not so large they take forever to cook. Jumbo shrimp can work but may need 1-2 extra minutes. Pat shrimp completely dry or coating won’t stick properly!
Step-by-Step Air Fryer Method
Perfect Prep Work (20 minutes)
Prepare the Shrimp:
- If shrimp are frozen, thaw completely in refrigerator overnight
- Peel and devein shrimp, leaving tails on if desired
- Pat thoroughly dry with paper towels (moisture is the enemy!)
- Make small slit along back of shrimp to butterfly slightly (helps them cook evenly)
- Season lightly with salt and set aside
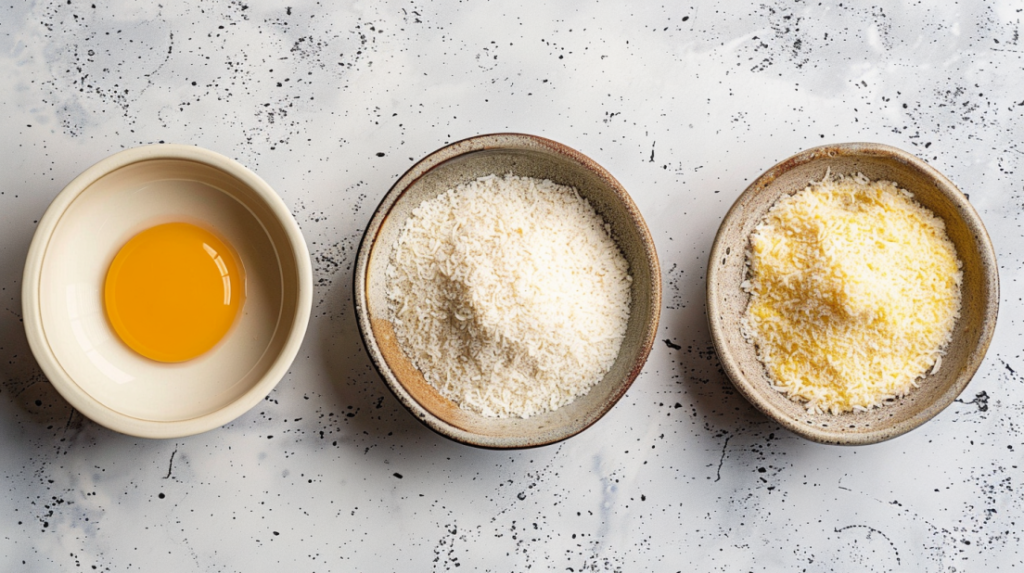
Set Up Breading Station:
- Arrange three shallow bowls in a row
- Bowl 1: Mix flour, garlic powder, salt, pepper, and paprika
- Bowl 2: Whisk eggs with water and salt until well combined
- Bowl 3: Mix coconut, panko, salt, and cayenne pepper thoroughly
- Have a clean plate ready for breaded shrimp
The Breading Secret: The panko-coconut combination is crucial! Pure coconut burns too easily and doesn’t provide enough crunch. Panko creates structure while coconut adds flavor and that signature golden color. This combination is restaurant-tested perfection.
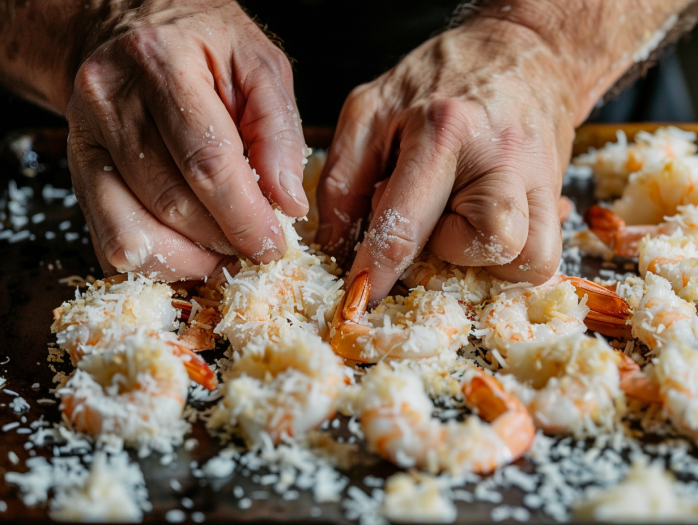
Breading Process (The Key to Success!)
The Three-Step Method:
- Flour Station First:
- Hold shrimp by tail
- Dredge entire shrimp in flour mixture
- Shake off excess flour
- Flour creates dry surface for egg to stick to
- Egg Wash Second:
- Dip floured shrimp into egg wash
- Let excess egg drip back into bowl
- Ensure complete coating for coconut adhesion
- Don’t skip this, egg is the glue!
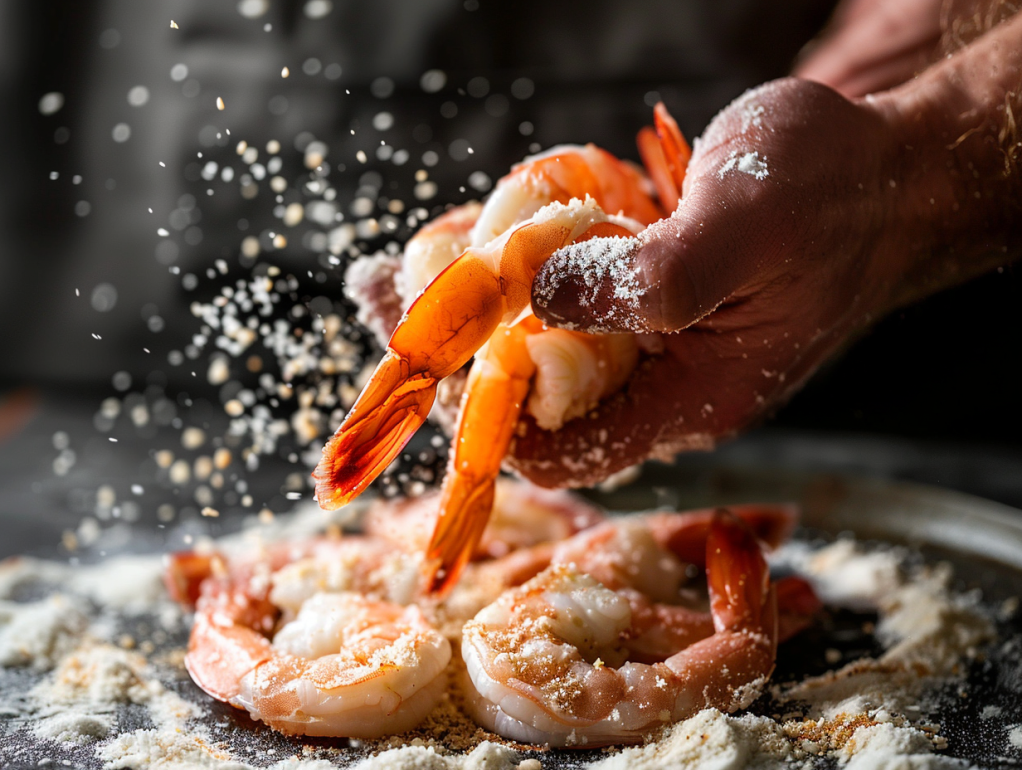
- Coconut Coating Final:
- Press shrimp firmly into coconut-panko mixture
- Press coating onto all sides with your hands
- Really pack it on, don’t be shy!
- Gently shake off loose coconut
- Place on clean plate, not touching
Critical Breading Tips:
- Use one hand for dry ingredients, one for wet (keeps hands less messy)
- Press coconut firmly onto shrimp, light dusting won’t work
- Let breaded shrimp rest 5 minutes before cooking (helps coating adhere)
- Don’t stack breaded shrimp, they’ll stick together
Air Fryer Cooking Process
Temperature: 400°F (200°C)
Time: 8-10 minutes total
Batch size: 8-10 shrimp maximum (don’t overcrowd)
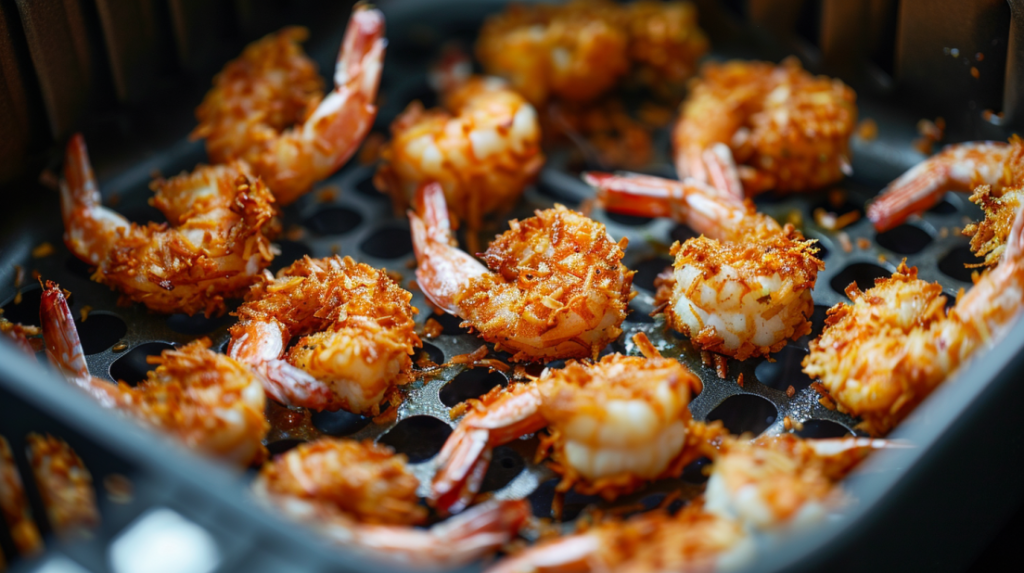
Step 1: Initial Setup
- Preheat air fryer to 400°F for 3 minutes
- Spray basket generously with cooking spray
- Arrange shrimp in single layer with tails pointing same direction
- Don’t let shrimp touch, air needs to circulate
- Spray tops of shrimp generously with cooking spray (crucial for browning!)
Step 2: First Cook Phase
- Cook 5 minutes without opening basket
- Shrimp should be starting to turn pink
- Coconut should begin to turn golden
- Resist opening, maintaining temperature is key
Step 3: Flip and Finish
- Carefully flip each shrimp using tongs
- Be gentle—coating can be delicate
- Spray other side with cooking spray
- Cook additional 3-5 minutes until deep golden brown
Step 4: Check Doneness
- Shrimp should be pink, opaque, and curled into C-shape
- Coconut coating should be deep golden brown (not pale!)
- Internal temperature should reach 120°F
- Coating should be crispy, not soft
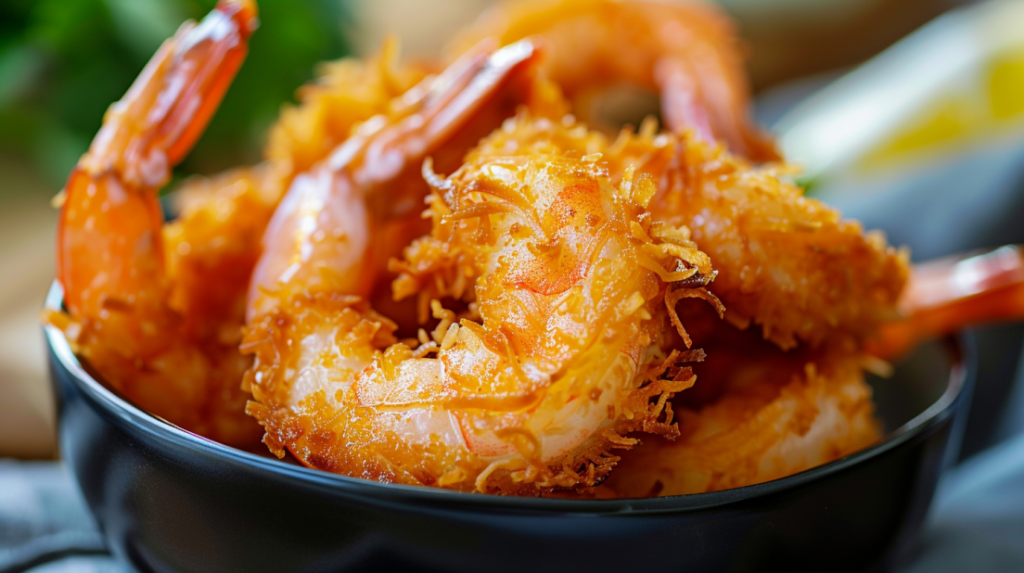
Step 5: Serve Immediately
- Transfer to serving platter
- Coconut shrimp are best served hot and fresh
- Serve with sweet chili dipping sauce
- Garnish with lime wedges and fresh cilantro
Visual cues for perfect doneness: Deep golden-brown coconut coating with no pale spots, shrimp curled into tight C-shape (not straight or O-shape), coating crispy and making crackling sound, no raw pink spots on shrimp, and tails slightly charred if left on.
Flavor Variations That Work
Classic Coconut Shrimp
- Recipe as written above
- Sweet and tropical
- Perfect with sweet chili sauce
- Restaurant favorite
Spicy Coconut Shrimp
- Add 1 teaspoon cayenne to coconut mixture
- Include ½ teaspoon chili powder
- Serve with spicy mango sauce
- For heat lovers
Lime-Cilantro Coconut Shrimp
- Add zest of 2 limes to coconut mixture
- Mix in 2 tablespoons dried cilantro
- Serve with cilantro-lime crema
- Bright and fresh flavor
Panko-Heavy Crispy Version
- Use 1½ cups panko, ¾ cup coconut
- Creates extra crunchy texture
- Less sweet, more savory
- Great for those who want less coconut flavor
Thai-Inspired
- Add 1 teaspoon red curry powder to flour
- Include ½ teaspoon ginger powder
- Serve with peanut dipping sauce
- Asian fusion twist
Honey-Glazed
- Brush cooked shrimp with honey-butter mixture
- Sprinkle with toasted coconut
- Extra sweet and sticky
- Dessert-like indulgence
Cajun Coconut Shrimp
- Add 2 teaspoons Cajun seasoning to flour
- Include ½ teaspoon cayenne in coconut
- Serve with remoulade sauce
- Louisiana meets the tropics
Lemon-Pepper
- Add zest of 2 lemons to coconut
- Double the black pepper
- Lighter, less sweet version
- Perfect for those avoiding sugar
Frequently Asked Questions
Can I use fresh shrimp or only frozen?
Both work perfectly! Fresh shrimp are ideal if available, but frozen work great too. Just thaw completely in refrigerator overnight and pat very dry before breading.
Do I need to butterfly the shrimp?
Not required, but recommended. Butterflying helps shrimp cook more evenly and quickly, reducing risk of overcooking while waiting for coconut to brown.
Can I make these dairy-free?
Yes! The recipe is already dairy-free. Use coconut oil spray for cooking. Ensure sweet chili sauce is dairy-free (most are).
What size shrimp works best?
Large shrimp (20-24 count per pound) are ideal. Medium shrimp work but cook faster (reduce time). Jumbo shrimp need extra cooking time.
Can I skip the panko and use all coconut?
Not recommended. All-coconut coating burns before crisping and lacks structure. The panko-coconut blend is essential for proper texture.
Complete Air Fryer Recipe Collection – 25+ family-tested favorites
Air Fryer Salmon Bites – Crispy outside, flaky inside in 8 minutes
Air Fryer Tuna Patties – Budget-friendly protein in 15 minutes
For more restaurant-quality seafood at home, follow us on Pinterest for daily cooking inspiration that proves you don’t need a deep fryer to make amazing food!