
This red velvet brownies comes together in about 30 minutes and features a simple one-bowl process for a quick and easy dessert that your family will absolutely love! Perfect for when you’re craving something sweet but also need to keep things on the gluten-free side. Trust me, you’re going to want to make these brownies again and again!
Ingredient Breakdown
Let’s talk about what you’ll need to whip up these scrumptious little bites of joy! I love that this recipe is not only gluten-free but super accessible too. Here’s what you’ll need to gather:
Dry Ingredients
- Gluten-Free Flour: You can use a gluten-free all-purpose blend. Just make sure it contains xanthan gum. If you don’t have that, you can also experiment with almond flour or coconut flour for a slightly different texture!
- Cocoa Powder: You’ll want unsweetened cocoa powder for that rich, chocolatey flavor. Dutch-process cocoa works beautifully if you want a deeper taste.
- Baking Powder & Baking Soda: These will help your brownies rise just a touch, keeping them chewy and a little fluffy!
- Salt: A couple pinches of salt really enhances the sweetness, making the chocolate flavor pop.
Wet Ingredients
- Sugar: Granulated sugar is what I use, but brown sugar can add a nice caramel note if you prefer.
- Vegetable Oil: This adds moisture and keeps the brownies nice and fudgy. Feel free to use melted coconut oil for a subtle tropical taste.
- Eggs: Eggs help with structure, and if you’re looking for a vegan alternative, you can use a flax egg (1 tablespoon ground flaxseed mixed with 2.5 tablespoons water).
- Vanilla Extract: Just a splash of pure vanilla extract takes these brownies to the next level. Yum!
Optional Add-Ins
- Food Coloring: Traditional red velvet would be lost without that vibrant red hue! You can use liquid food coloring or gel. It’s all about how red you want your brownies to be!
- Chocolate Chips or Walnuts: These can be folded in for extra texture and flavor. You won’t regret it!
Let’s Get Cooking
Step 1: Preheat your oven
Preheat your oven to 350°F (175°C) and prepare a square 9×9 baking dish by greasing it lightly or lining it with parchment paper. This will help keep the brownies from sticking to the pan!
Step 2: Mix the Dry Ingredients
In a large mixing bowl, whisk together the gluten-free flour, cocoa powder, baking powder, baking soda, and a couple pinches of salt. Just get it all combined nicely, you know?
Step 3: Combine Wet Ingredients
In another bowl, mix together the sugar and oil until they are well combined, about 1 minute is great! Then add the eggs, one at a time, and the vanilla extract, and continue mixing until everything is incorporated. It should be smooth and glossy, oh, and it smells incredible!
Step 4: Fold Everything Together
Now, slowly add your dry ingredients into the wet ingredients. Stir until just mixed, you want it smooth, but don’t go overboard, or the brownies can get tough. Gently fold in your chocolate chips or nuts if you’re using them.
Step 5: Add Food Coloring
Here’s where the magic happens! If you’re using red food coloring, add it in a couple drops at a time and stir until you reach your desired shade. It’ll feel like you’re crafting a little masterpiece, seriously, it’s so fun!
Step 6: Bake Those Brownies
Pour the batter into your prepared baking dish and spread it evenly. Now, pop it in the oven and bake for about 25-30 minutes. You’ll know they’re done when a toothpick inserted in the center comes out with a few moist crumbs, like that perfect balance where you don’t want them completely dry!
Step 7: Cool and Slice
Let them cool in the pan for about 10 minutes before transferring them to a wire rack. After they’ve cooled completely (if you can stand to wait that long!), slice into squares and enjoy!

If you loved this recipe, be sure to check out my Salted Caramel Brown Sugar Pop Tart Cookie Bars
or my Mint Chocolate Chip No-Bake Pie!
Why You’ll Love This Recipe: Pro Tips for Perfect Brownies
Quick & Easy
This recipe is all about simplicity! It comes together in a snap, no fuss, no long list of fancy techniques. That’s why it’s my go-to for any occasion!
Budget-Friendly
Using basic pantry staples means you won’t break the bank. Seriously, you probably have most of these ingredients just sitting in your kitchen right now.
Customizable
You can mix and match ingredients and flavorings to suit your taste! Got some leftover peppermint extract from the holidays? Toss it in! Swapping ingredients is totally encouraged here!
Crowd-Pleaser
You won’t hear any complaints when you serve these brownies. Whether it’s a family gathering, a potluck, or just a cozy night on the couch, they’re guaranteed to disappear quickly!
Make-Ahead Friendly
These brownies are actually even better the next day after they’ve settled, so make them ahead of time and let those flavors bloooooom! You can whip up a big batch on Sunday and snack on them all week long, it’s a win-win situation.
Serving and Storage Tips for Your Brownies
Now, let’s chat about how to best enjoy these delightful treats and keep them fresh!
Serving Suggestions
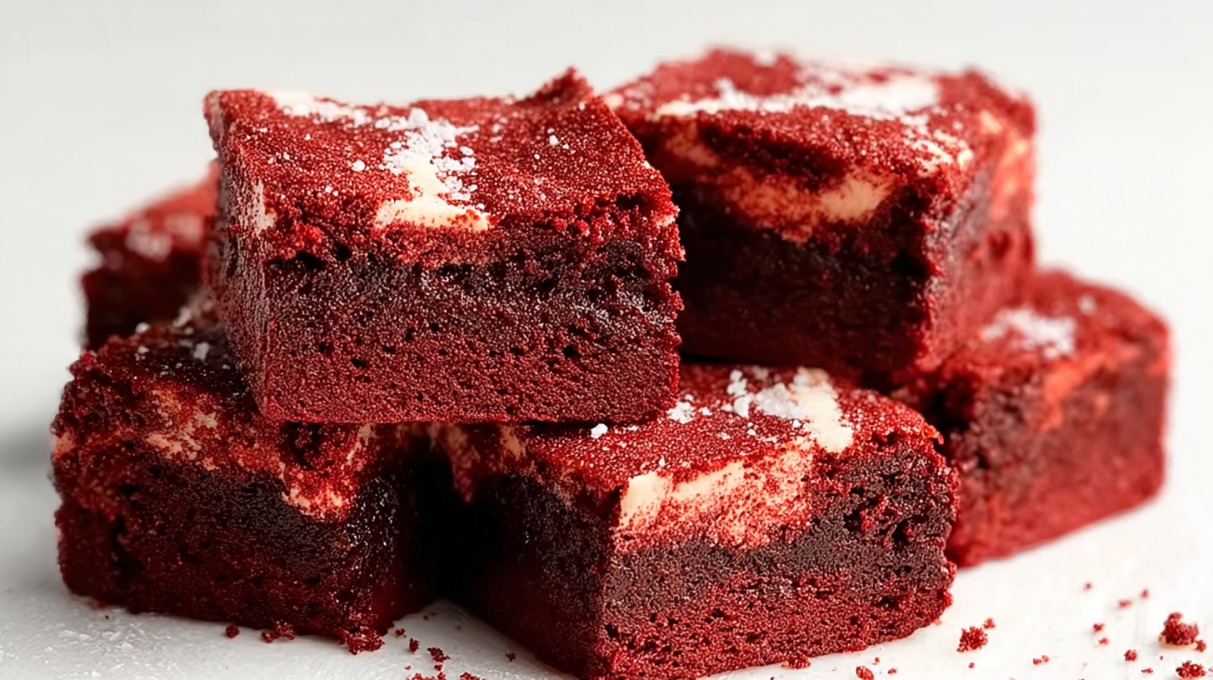
Serve these gluten-free red velvet brownies as they are to show off that gorgeous red hue or top them with a generous dollop of whipped cream or a scoop of vanilla ice cream for an additional treat! A drizzle of chocolate sauce can really ramp up the decadence too… believe me, your taste buds will thank you!
How Long They Last
These brownies can be stored in an airtight container at room temperature for about 3-5 days, if they even last that long! I mean, who can resist them?
Reheating Instructions
If you have any leftovers (incredible, right?), just pop them in the microwave for about ten seconds to warm them up. They’ll be gooey and fudgy all over again!
Freezer Friendly
Yes! These brownies freeze beautifully! Just wrap them tightly in plastic wrap or foil and store them in an airtight container. They’ll keep well for up to 2 months. When you’re ready, simply defrost them at room temperature or zap them in the microwave for a quick treat!
So there you have it! A simple, quick, and oh-so-delicious way to experience red velvet cake in brownie form! These gluten-free red velvet brownies are a delightful treat that will satisfy any sweet tooth and impress all your loved ones. Remember, ease and flavor are what cooking is all about, and I can’t wait to hear how yours turn out! Let’s make dessert great again!
Keep baking, have fun with it, and let me know how these delicious brownies worked for you. I really hope your family loves them as much as mine does!
And follow us on Pinterest for daily meal inspiration!
Gluten-Free Red Velvet Brownies
Ingredients
Method
- Preheat your oven to 350°F (175°C) and prepare a square 9×9 baking dish by greasing it lightly or lining it with parchment paper.
- In a large mixing bowl, whisk together the gluten-free flour, cocoa powder, baking powder, baking soda, and salt until combined.
- In another bowl, mix together the sugar and oil until well combined. Then add the eggs one at a time and the vanilla extract, mixing until everything is smooth and glossy.
- Slowly add the dry ingredients into the wet ingredients, stirring until just mixed. Fold in the chocolate chips or nuts if using.
- Add red food coloring a few drops at a time, stirring until you reach your desired shade.
- Pour the batter into the prepared baking dish and spread it evenly. Bake for 25-30 minutes, until a toothpick inserted in the center comes out with a few moist crumbs.
- Let the brownies cool in the pan for about 10 minutes before transferring them to a wire rack. Once cooled completely, slice into squares and enjoy!