
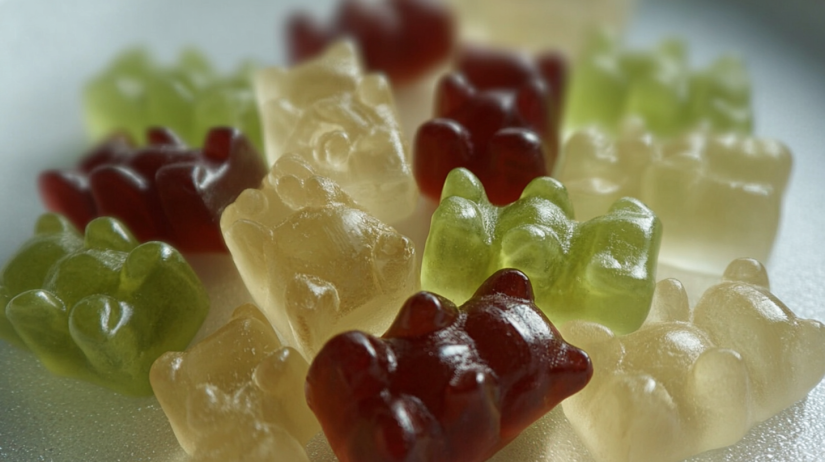
This Healthy Gelatin Gummy Bears recipe comes together in about 20 minutes and requires no baking, making it a easy treat that your family will love! Not only are these gummies a great way to satisfy sweet cravings, but you can easily switch up the juice flavors to suit your taste or use what’s leftover in the fridge. So, gather the kids and let’s make some amazing gummy bears that are as healthy as they are delicious!
Ingredient Breakdown for Healthy Gelatin Gummy Bears
- 1 cup Juice of Choice
- 2 tbsp Honey
- 1/4 cup Gelatin (unflavored and grass-fed)
Let’s Get Cooking!
So, are you ready to whip up these delicious gummies? Grab your favorite gummy bear molds, and let’s get started!
Instructions:
Mix the Juice and Gelatin : In a medium saucepan, add the juice of your choice. Gently and evenly sprinkle the gelatin over the juice. Stir it lightly to combine, then let it sit for about 5 minutes, this allows the gelatin to bloom. (Trust me, this step is crucial for that perfect texture!)
Heat the Mixture : After 5 minutes of patiently waiting, add the honey to your mixture. Turn the stove to medium-low heat, stirring occasionally, and don’t let it boil! (Seriously, we want to keep that sweet flavor intact). As it warms, you’ll see it transition into a lovely liquid consistency.
Pour Into Molds : Once the mixture is warmed through and smooth, carefully pour the liquid into your gummy bear molds. I prefer to use a glass measuring cup, it makes pouring so much easier and reduces bubbles that can create odd shapes. If you have droppers, those can work too, but they usually lead to extra bubbles.
Set Them Up : Now, let your molds sit on the counter for about 1 hour until they’re no longer warm. After that, pop them in the fridge to set for at least 2 hours. (Psst! This is a great time to clean up the kitchen, easy peasy!)
Pop & Enjoy : Once they’re set, gently pop the gummy bears out of the molds! Store any leftovers in an airtight container in the fridge. They’ll keep for about a week, but I’m betting they’ll be gone long before that!
Why I Love This Recipe
You know, this Healthy Gelatin Gummy Bears recipe is my go-to when I’m craving something sweet yet guilt-free. It’s simple, yet it holds a special place as a family favorite. Even my picky eater will ask for seconds! I just love how versatile it is, you can mix and match flavors to use whatever juice you have on hand or even sneak in some pureed fruits or veggies for added nutrition. The best part? They’re a fun weekend project the kids will adore!
If you loved this recipe, be sure to check out my Peanut Butter and Cheerio Bars, my Homemade Healthy Marshmallows, or my Homemade Strawberry Gummies!
Why This Recipe Works
Quick & Easy
This recipe comes together in under 20 minutes, allowing for a fun activity without the hours of prep. You’re really going to appreciate how little time it takes!
Minimal Cleanup Required
Thanks to just a couple of kitchen items, you can whip these up with very little fuss. Just one saucepan and your molds, and you’re done! (High-five for less dishwashing!)
Customizable
This allows you to use whatever ingredients you have on hand. Rotate flavors depending on the season or whatever fruit juices your family loves best. The secret is to keep experimenting, who knows what delightful combinations you might discover?
Crowd-Pleaser
Kids love gummy bears (who doesn’t?), and these are so much better than the store-bought versions! They’re loaded with natural flavors and can even help you control the sugar content, which is a win-win.
Make-Ahead Friendly
Since these gummies store nicely in the fridge for about a week, you can make a batch that lasts throughout the week for kids’ lunches or after-school snacks. Plus, they’re perfect for popping into a lunchbox as a sweet surprise!
Serving and Storage Tips
How to Serve These Gummies
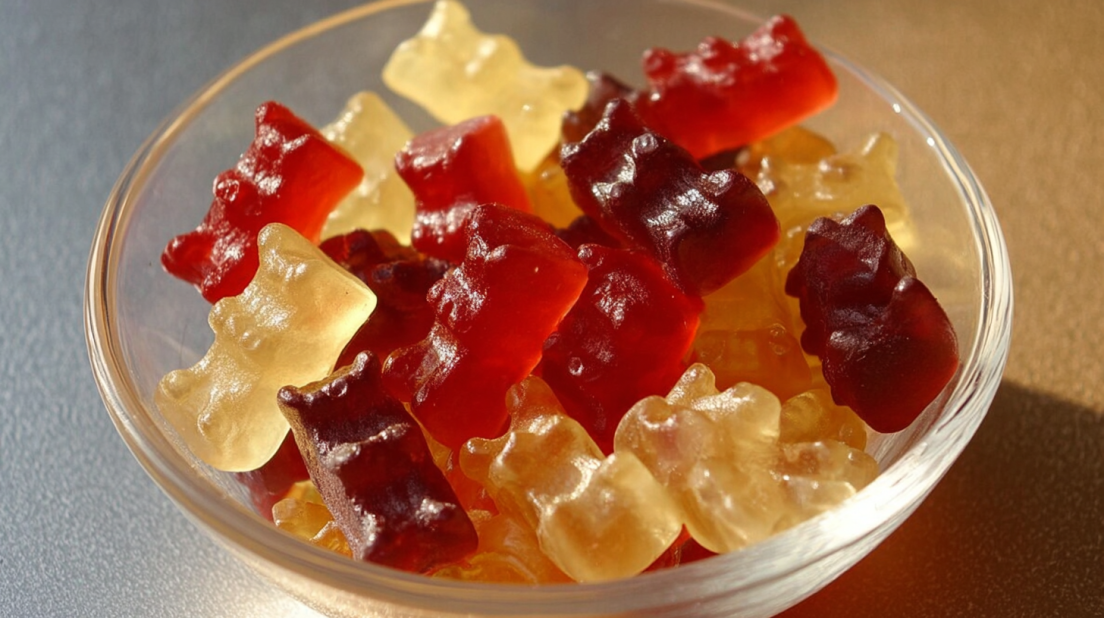
These Healthy Gelatin Gummy Bears are perfect as standalone snacks, but they also make a great addition to parties or as a homemade treat when entertaining friends! Just pop them in cute little bags or jars, and they’re ready to go.
Storage
Your delicious gummy bears will keep in the fridge for up to a week. Just store them in an airtight container to maintain their chewiness!
Reheating Instructions
There’s really no need to heat these up, but if they get a little sticky, just pop them back in the fridge to firm up again. Remember to keep them cool to maintain that perfect gummy bear texture.
Freezer Friendly
If you find you have a lot of gummies left, they’re also freezer-friendly! Just be sure to wrap them nicely in plastic before placing them in an airtight container. They’ll keep for about 2-3 months in the freezer. (But who are we kidding? They’ll probably be gone long before that!)
So, are you ready to start making your own Healthy Gelatin Gummy Bears at home? With all these tips and tricks, I know you’re gonna make the best batch yet! It’s time to bring some fun to your kitchen and vibe with these comfortable little treats! Happy gummy making! Follow us on Pinterest for daily meal inspiration!
Healthy Gelatin Gummy Bears
Ingredients
Method
- In a medium saucepan, add the juice of your choice. Gently sprinkle the gelatin over the juice. Stir lightly to combine, then let it sit for about 5 minutes.
- After 5 minutes, add the honey to the mixture. Turn the stove to medium-low heat, stirring occasionally, ensuring it does not boil.
- Once smooth and warmed through, carefully pour the liquid into your gummy bear molds.
- Let the molds sit on the counter for about 1 hour, then refrigerate for at least 2 hours to fully set.
- Once set, gently pop the gummy bears out of the molds and store any leftovers in an airtight container in the fridge.